

Making Your First Android App for Beginners
Find out how to Create an app for Android with ease! Learn setup and UI design using Jetpack and launch it. Click here to start developing!

Seekho Official
8 Jan 2025

Seekho Se SeekhoDownload the app for better experience
More from Seekho Official
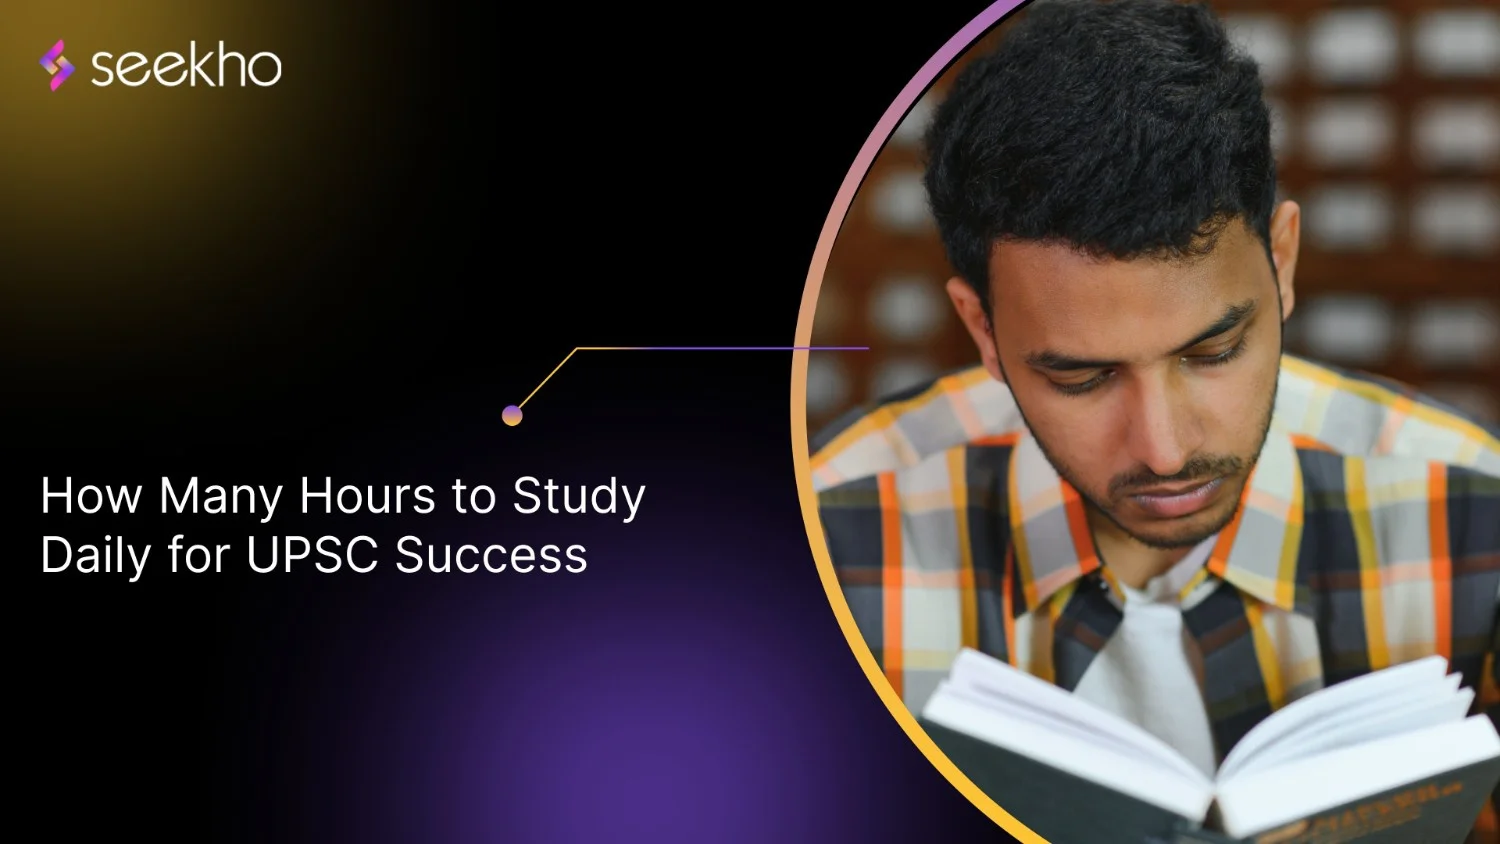
How Many Hours to Study Daily for UPSC Success
Wondering how many hours of study are required for UPSC? Explore effective daily study routines and expert tips to boost your preparation for UPSC success.
Seekho Official
9 Oct 2025
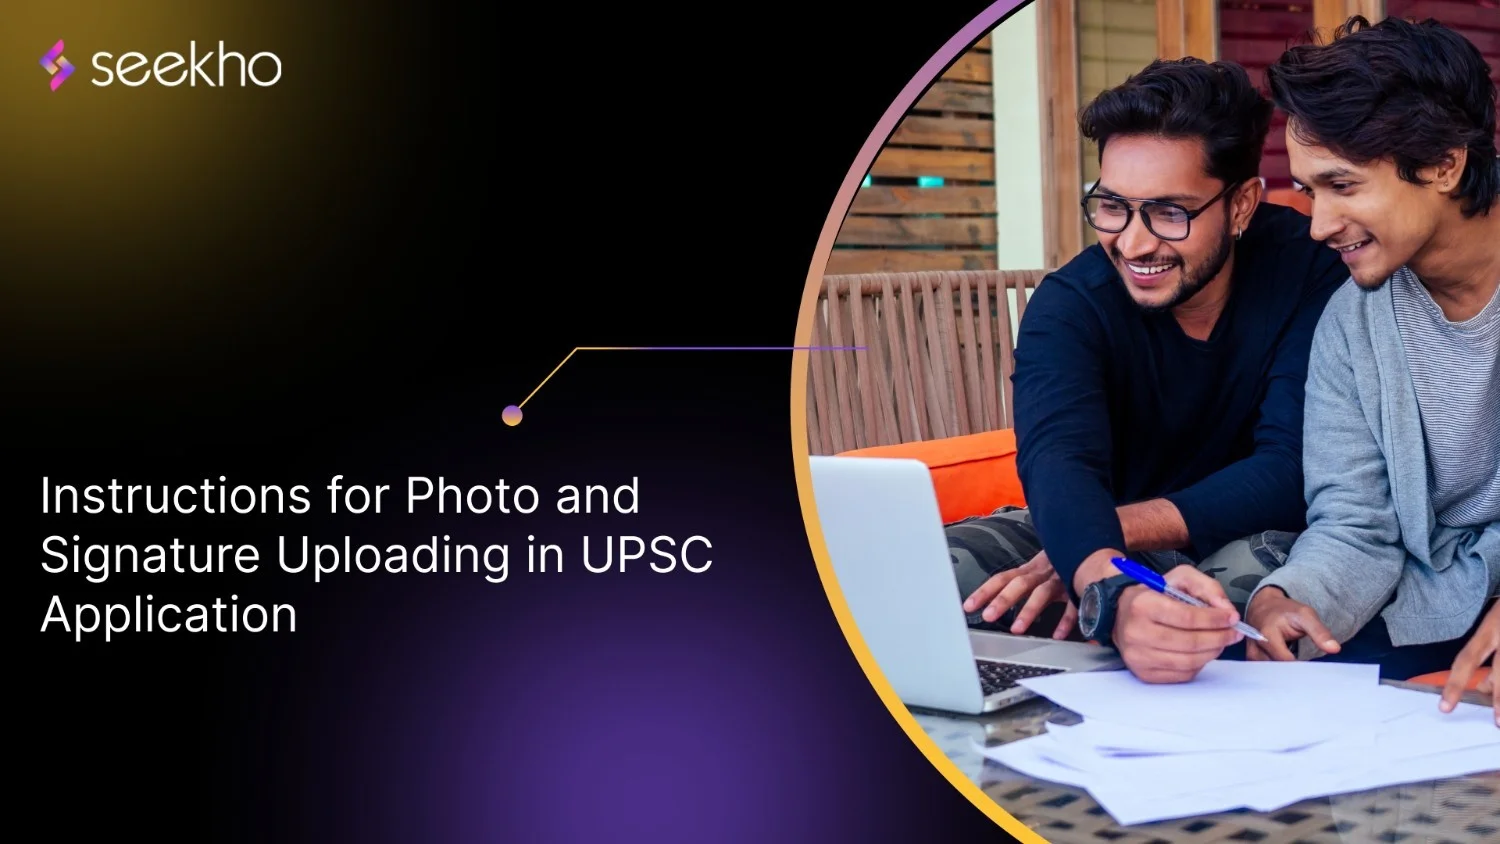
Instructions for Photo and Signature Uploading in UPSC Application
Follow the UPSC photo requirements 2025 to ensure your application isn't rejected. Learn the correct size and guidelines for photo and signature uploads.
Seekho Official
9 Oct 2025
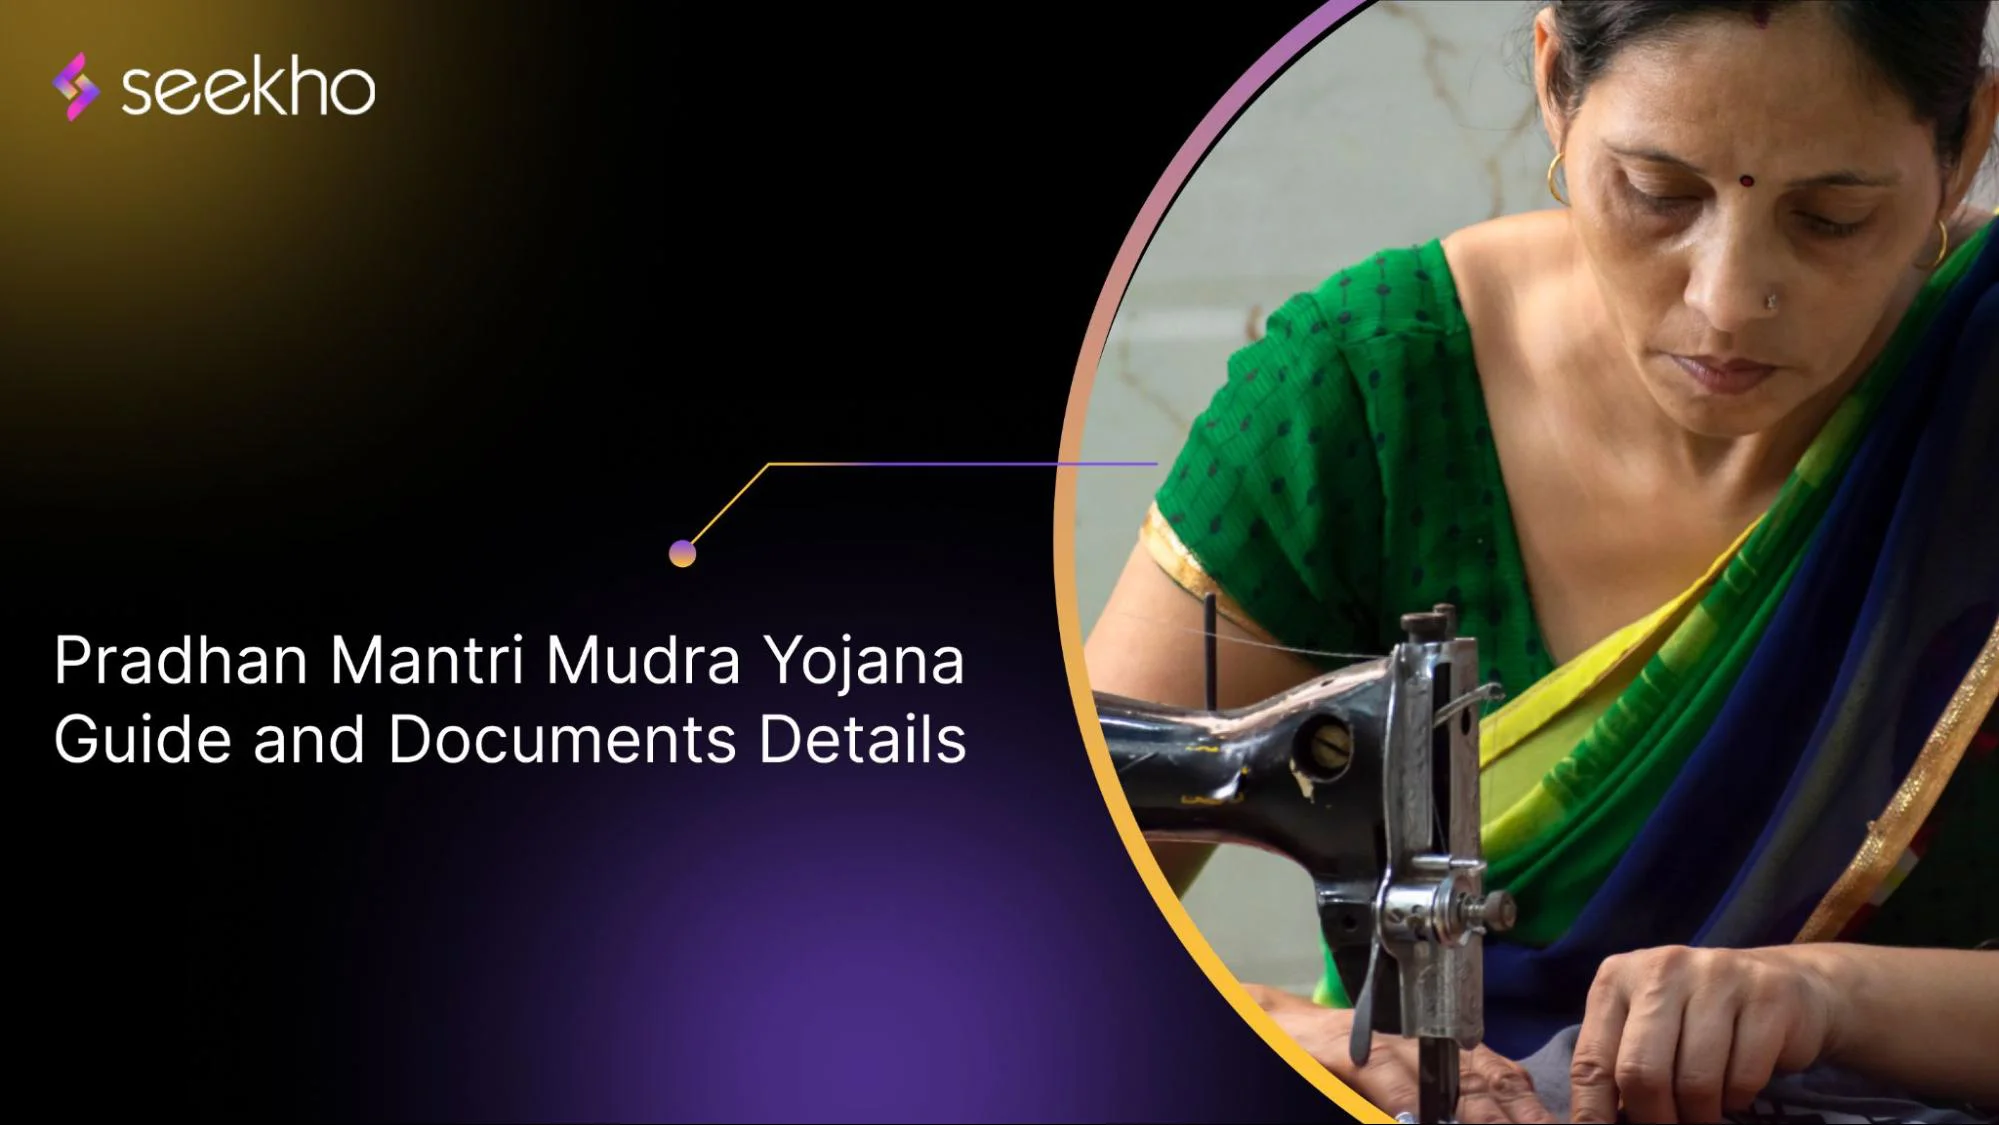
Pradhan Mantri Mudra Yojana Eligibility Documents Details and Guide
Looking for collateral-free loans? Discover the Pradhan Mantri Mudra Yojana with easy eligibility and the necessary documents for your business growth.
Seekho Official
9 Oct 2025
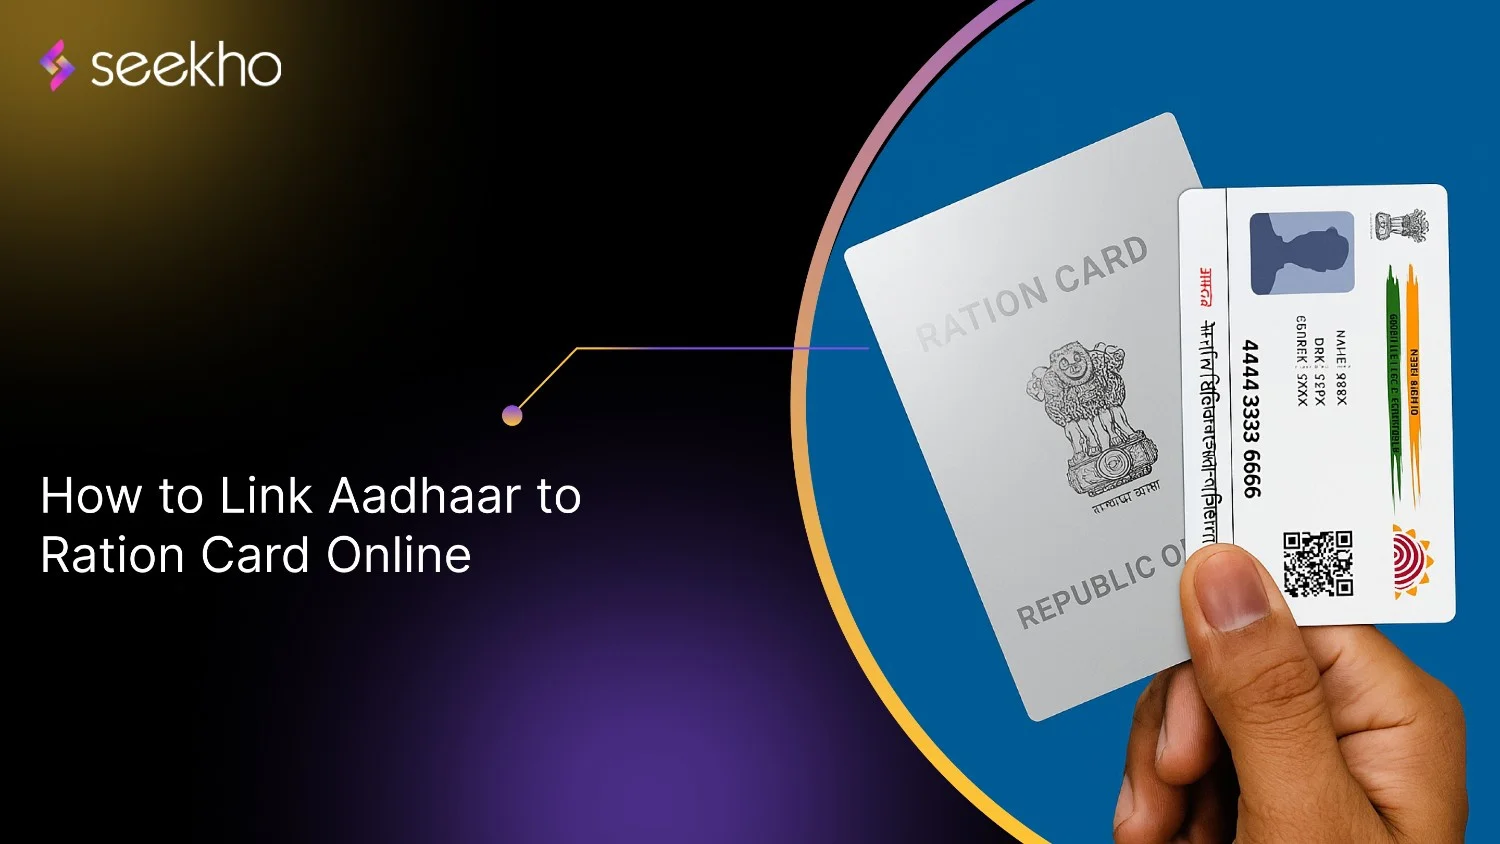
How to Link Aadhaar to Ration Card Online: 2025 Guide
Struggling to link Aadhaar to your ration card? This guide explains the step-by-step process to ensure accurate subsidy distribution and prevent delays.
Seekho Official
9 Oct 2025
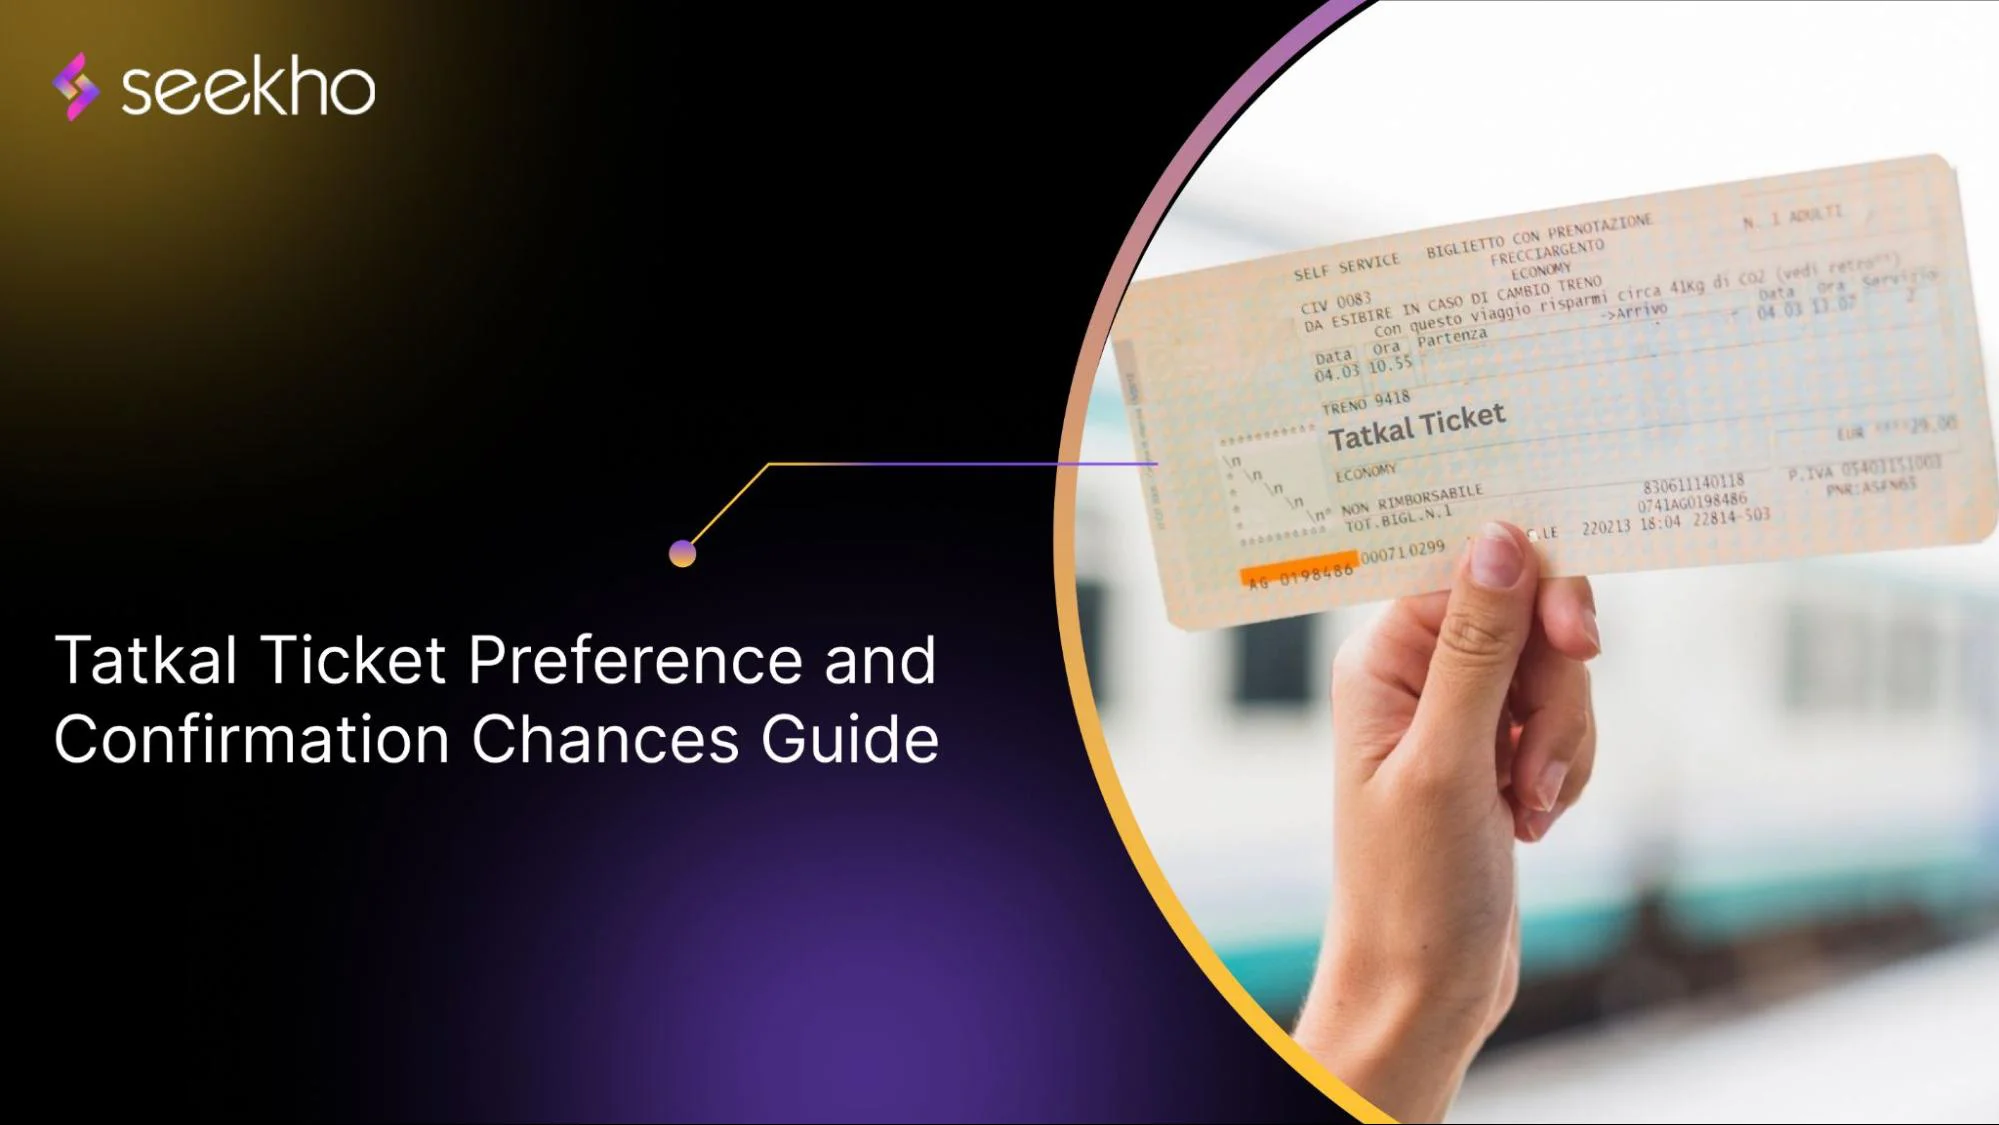
Tatkal Ticket Preference and Confirmation Chances Guide
Tired of waiting for your Tatkal ticket confirmation? Find out what impacts your chances and how to improve your booking strategy.
Seekho Official
9 Oct 2025
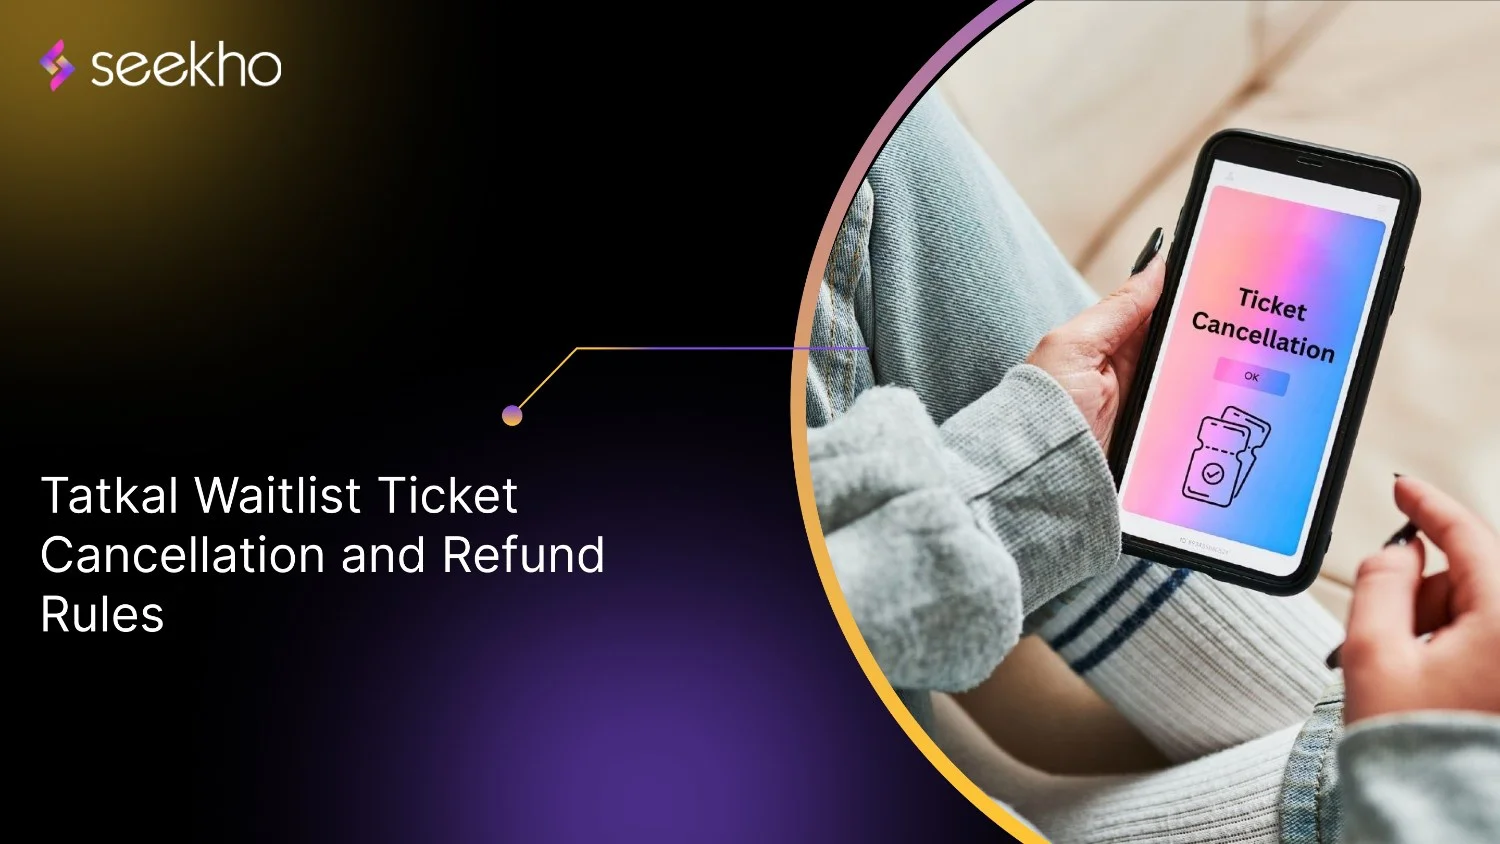
Tatkal Waitlist Ticket Cancellation and Refund Rules
Confused about Tatkal waitlist cancellations and refunds? Learn the rules and get your refund hassle-free with our simple guide.
Seekho Official
9 Oct 2025
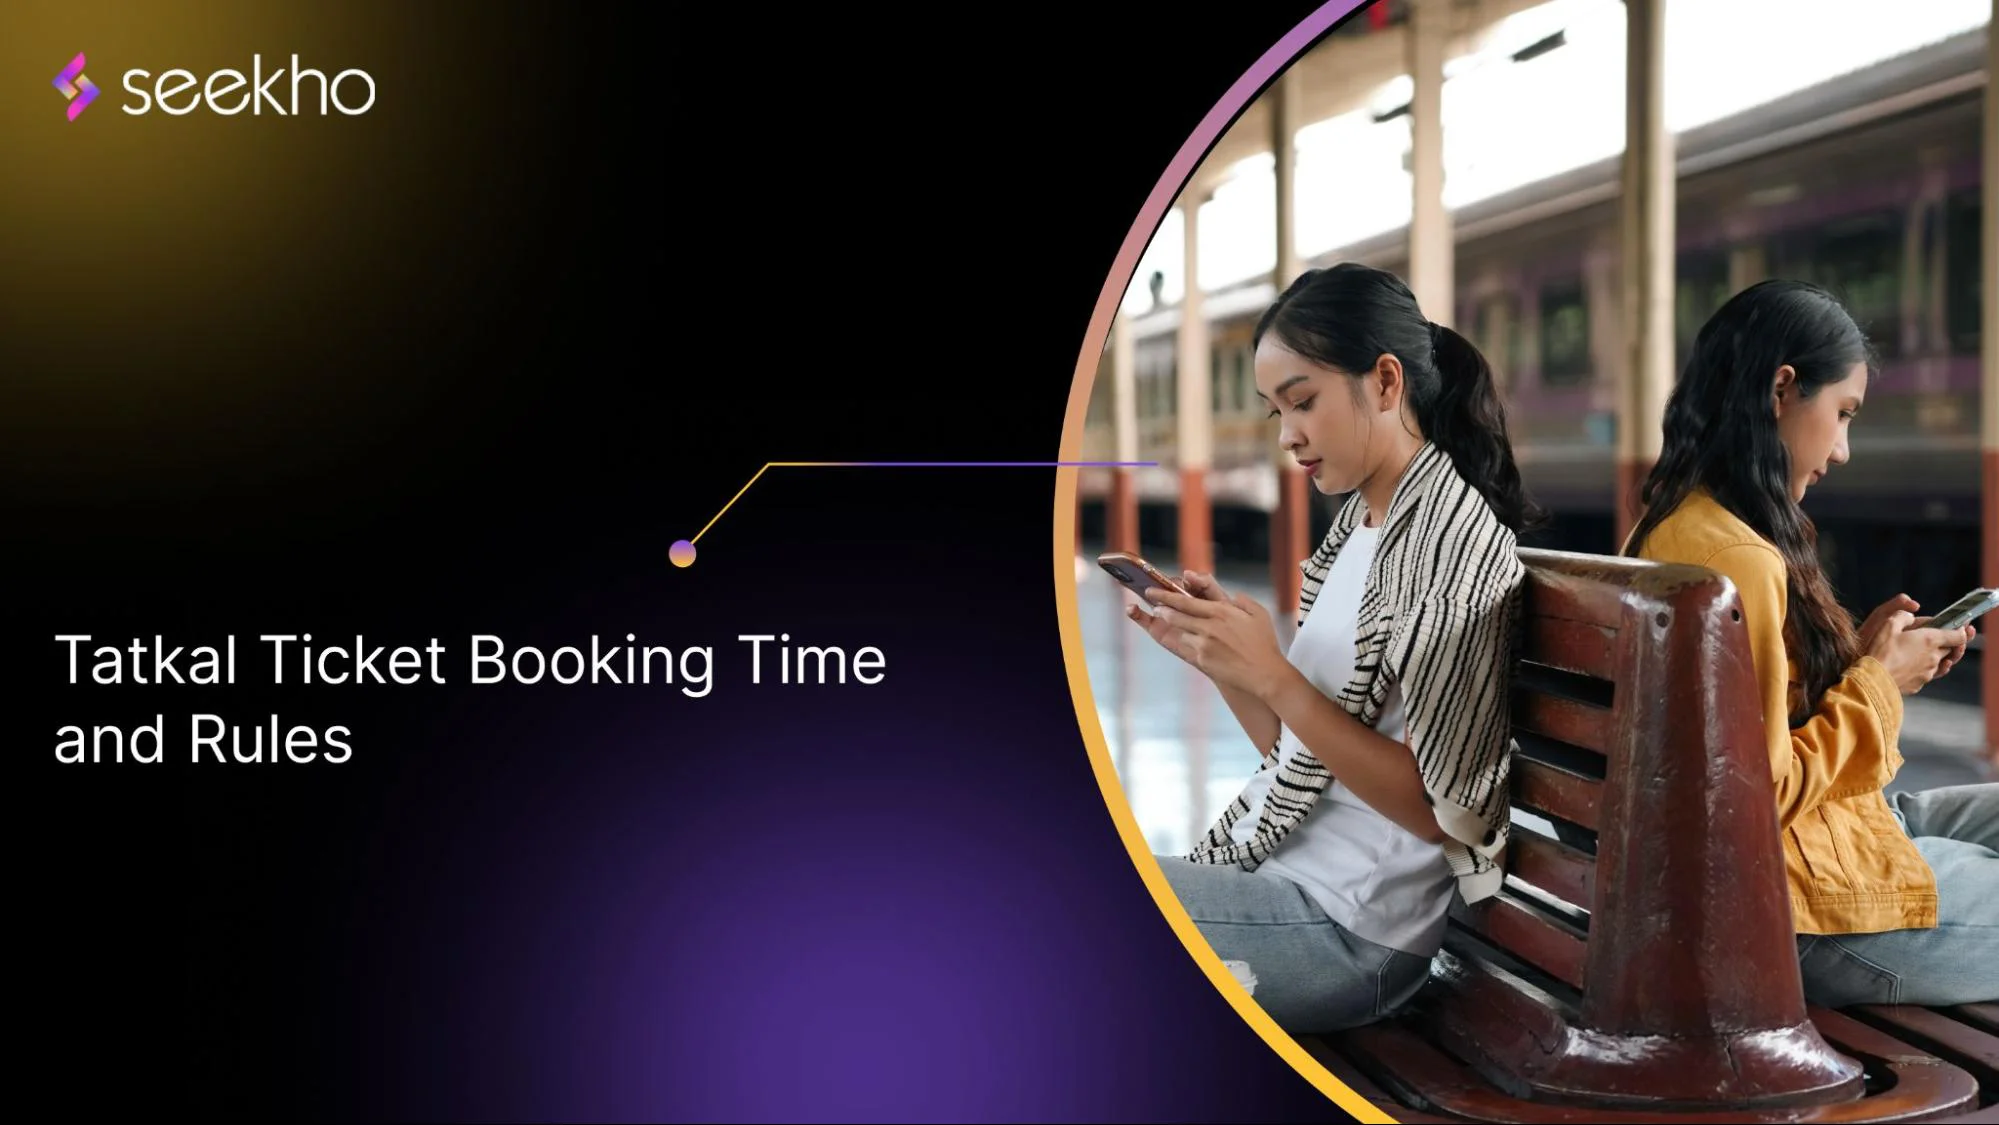
Tatkal Ticket Booking Time and Rules
Master Tatkal ticket booking time with these tips: Book AC at 10 AM, Sleeper at 11. Reserve a maximum of 4 tickets per PNR.
Seekho Official
9 Oct 2025
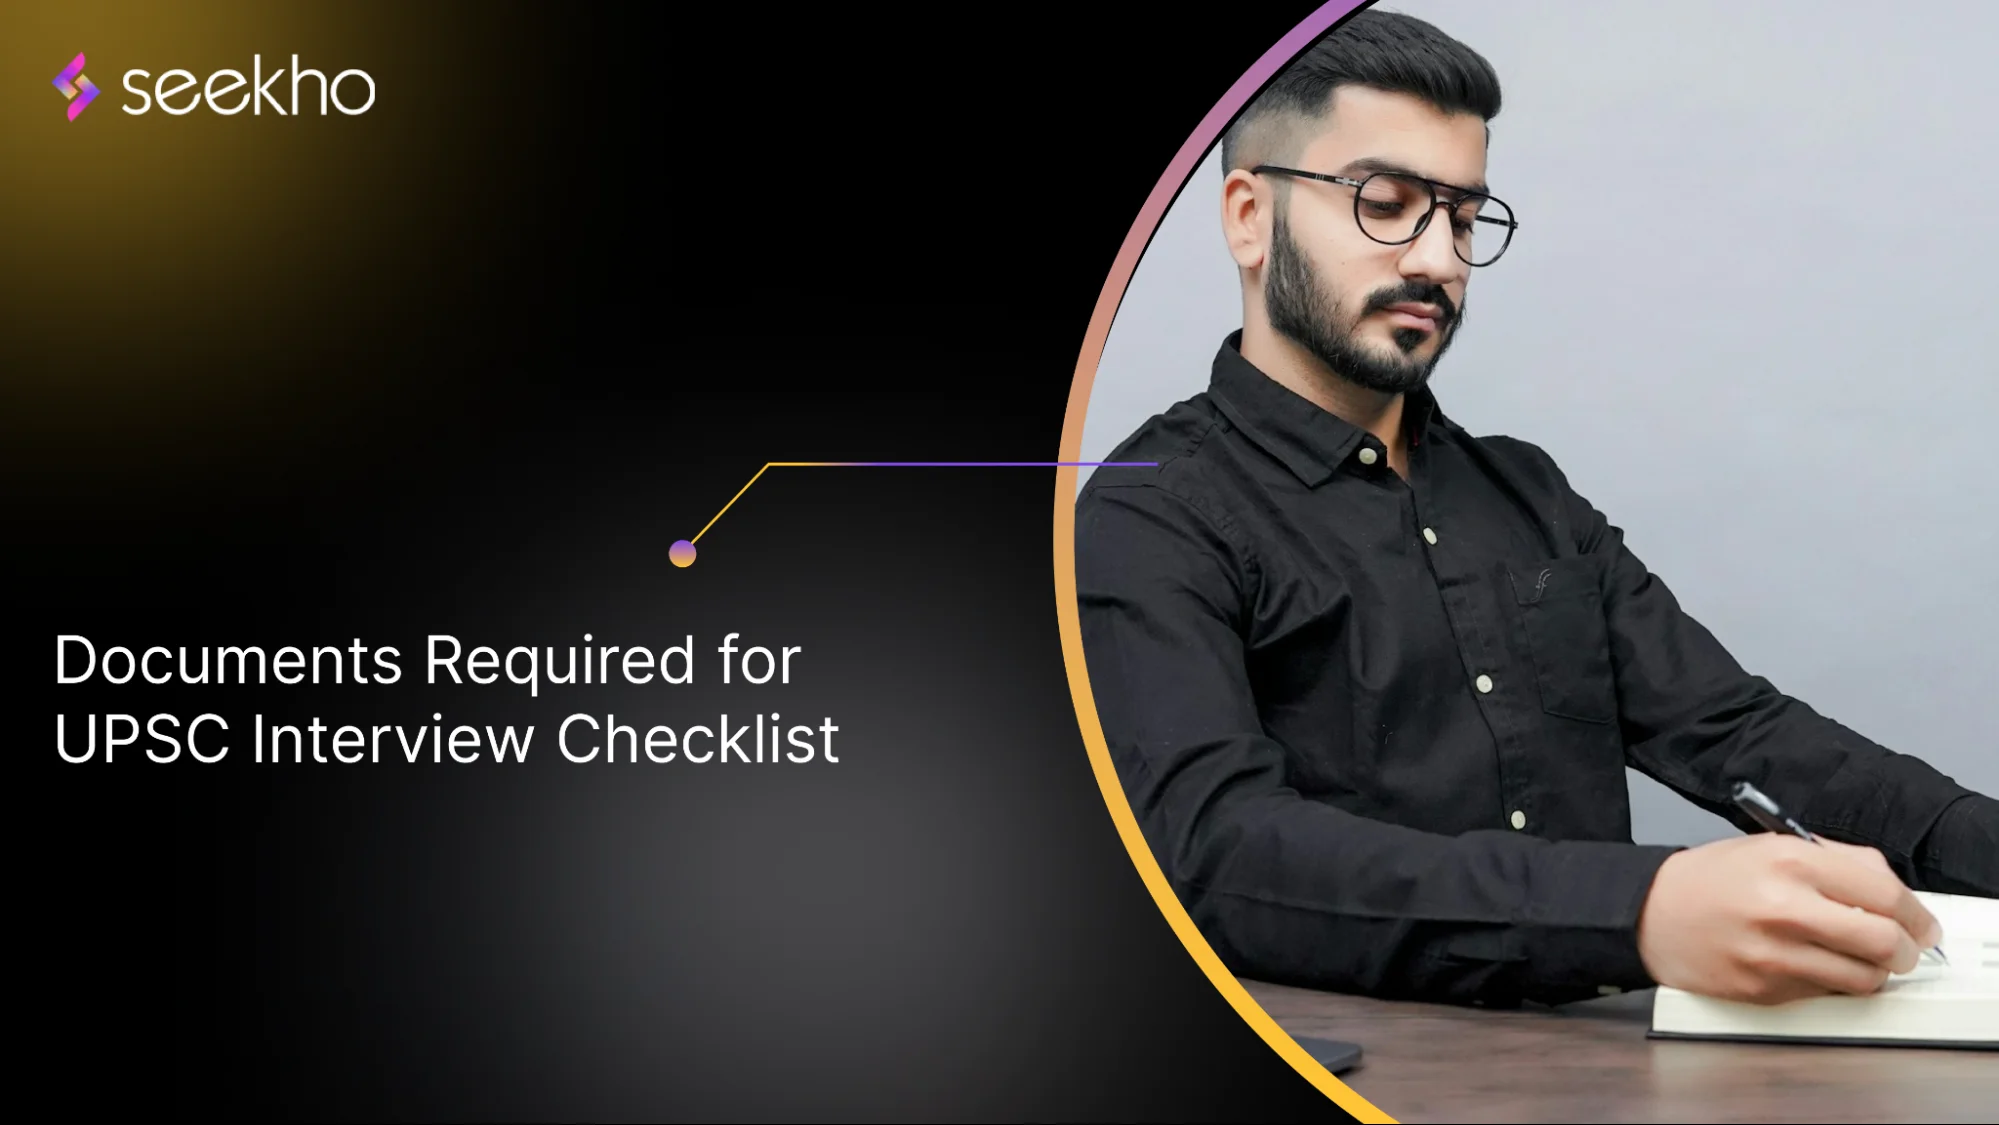
Documents Required for UPSC Interview Checklist
Know exactly which documents to carry for your UPSC interview, how to prepare them right, and avoid common mistakes that can cost you the opportunity.
Seekho Official
28 Aug 2025
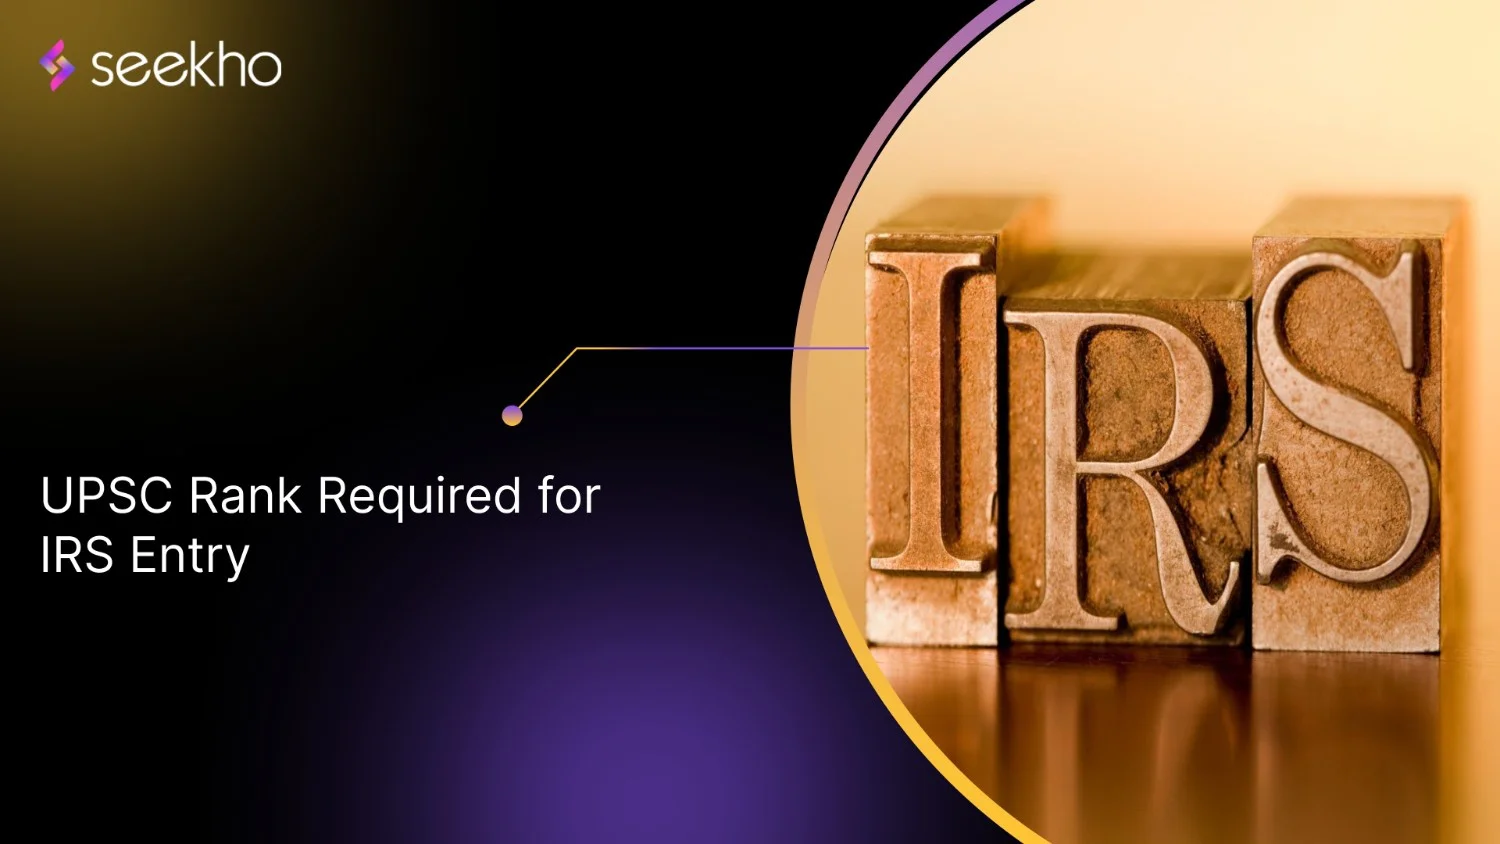
UPSC Rank Required for IRS Entry
Wondering about the UPSC rank required for IRS? Get clear insights on category-wise cut-offs, recent trends, and practical tips to help you secure your spot.
Seekho Official
28 Aug 2025
Best Personal Loan App in India Without Salary Slip
Searching for personal loans without a salary slip? Find top loan apps in India offering fast, hassle-free loans with minimal documentation requirements.
Seekho Official
28 Aug 2025