
Easy Methods to Move Photos from iPhone to Android
Share photos from iPhone to Android easily! Use Google Drive or MobileTrans for seamless transfers. Access photos via iCloud and Google Photos. Try now!

Seekho Official
25 Mar 2025

Seekho Se SeekhoDownload the app for better experience
More from Seekho Official
The Importance of AI in Education for Students and Teachers
Know the importance of AI in education for students and teachers. Learn the role of Generative AI, challenges and the future of the 21st century.
Seekho Official
18 Dec 2025

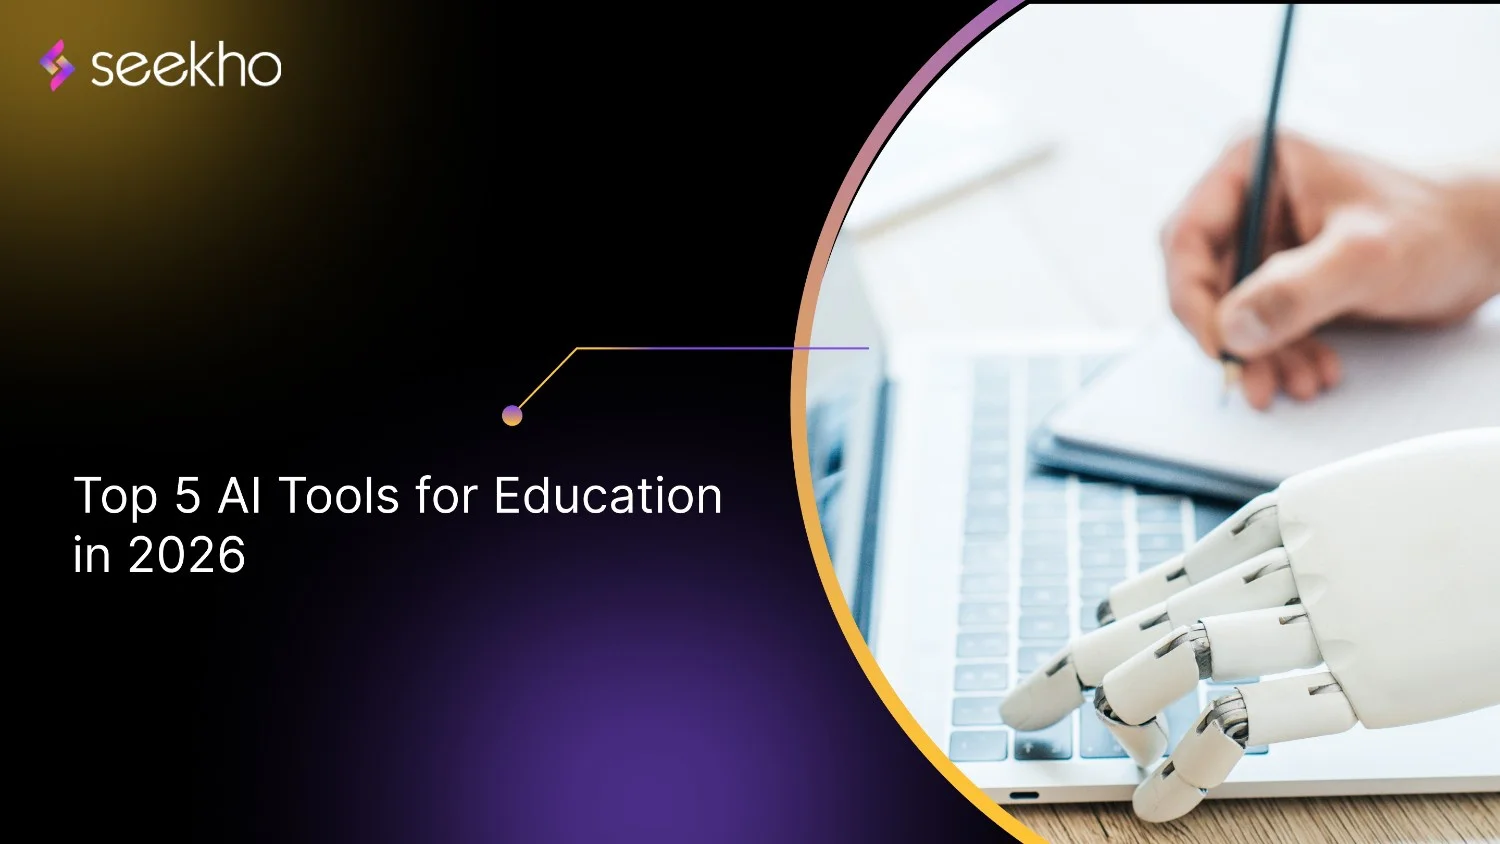
Top 5 AI Tools for Education in 2026
Learn how AI tools for education improve access, personalisation and teaching efficiency, while shaping hybrid learning and better outcomes for students.
Seekho Official
18 Dec 2025
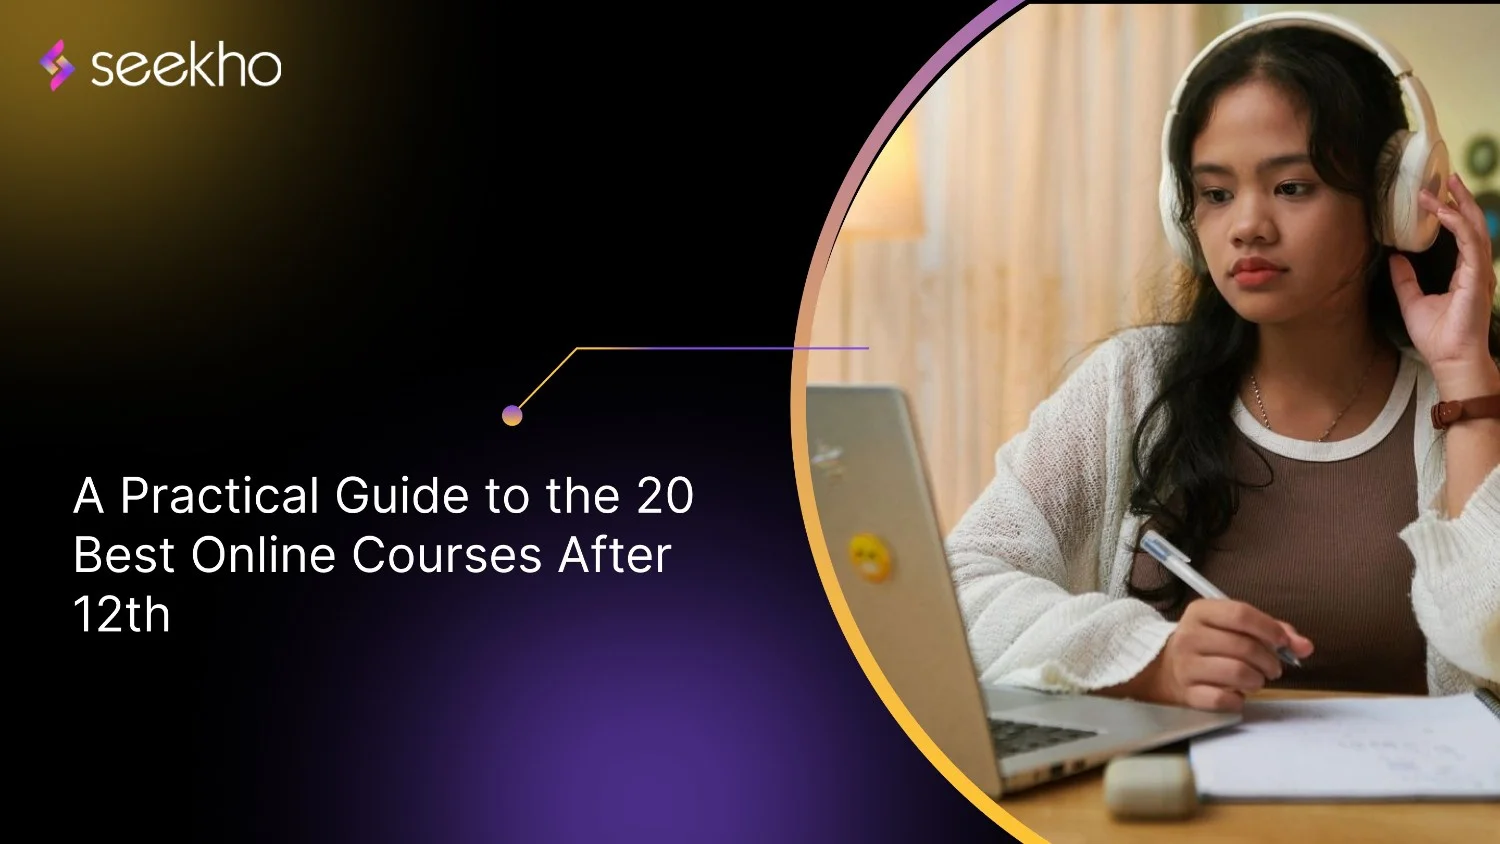
A Practical Guide to the 20 Best Online Courses After 12th
Start building your career with the best 20 online courses after 12th in India. Discover high-demand skills like coding, finance, and design to earn faster.
Seekho Official
18 Dec 2025
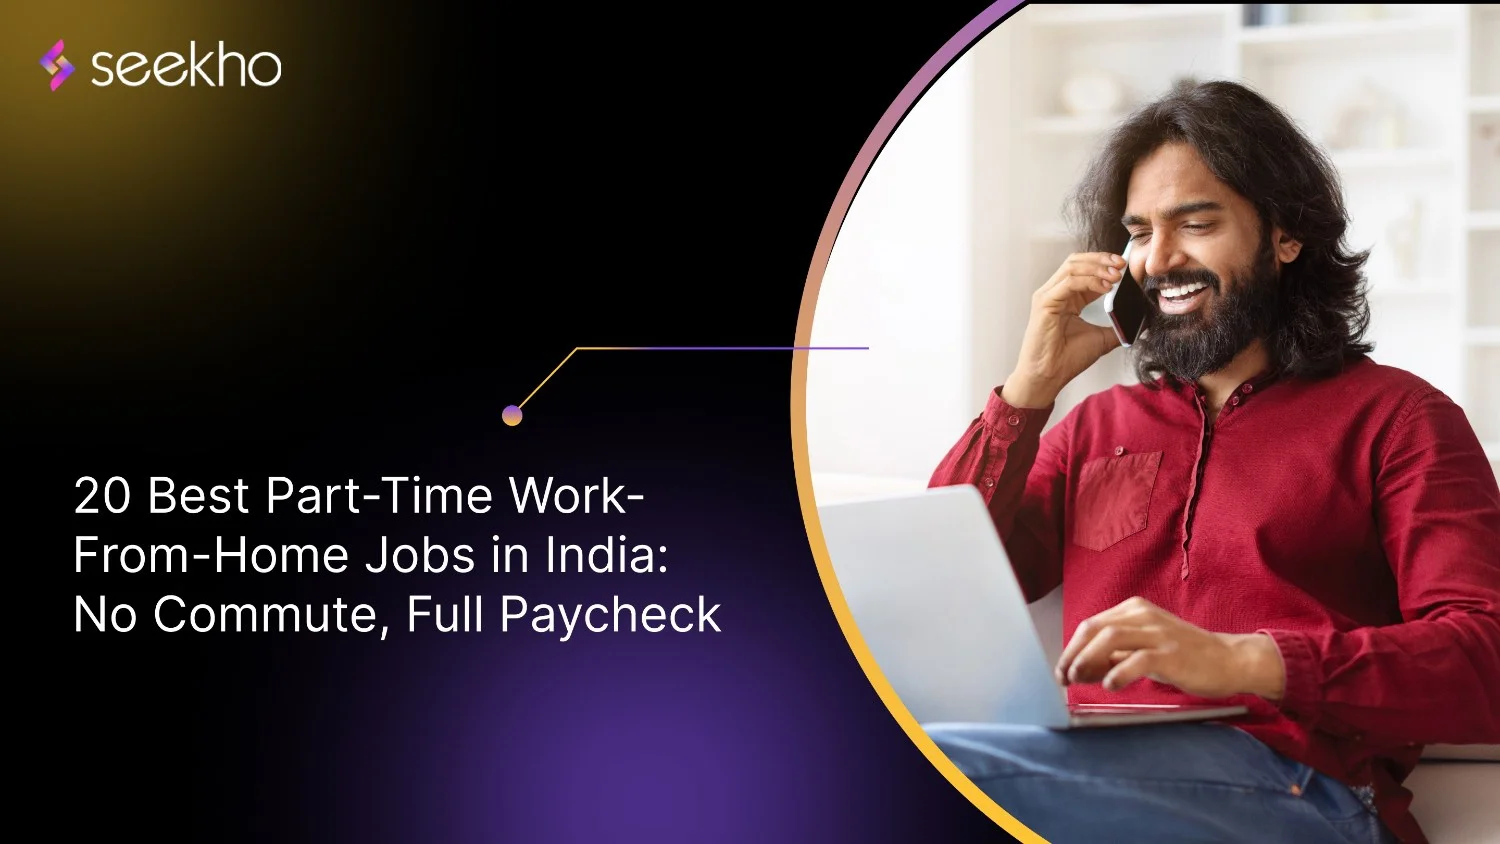
20 Best Part-Time Work-From-Home Jobs in India
Find the best part-time work-from-home jobs in India. Get 20 high-paying options (coding, writing, VA) and a guide to avoid common scams. Start earning now!
Seekho Official
18 Dec 2025
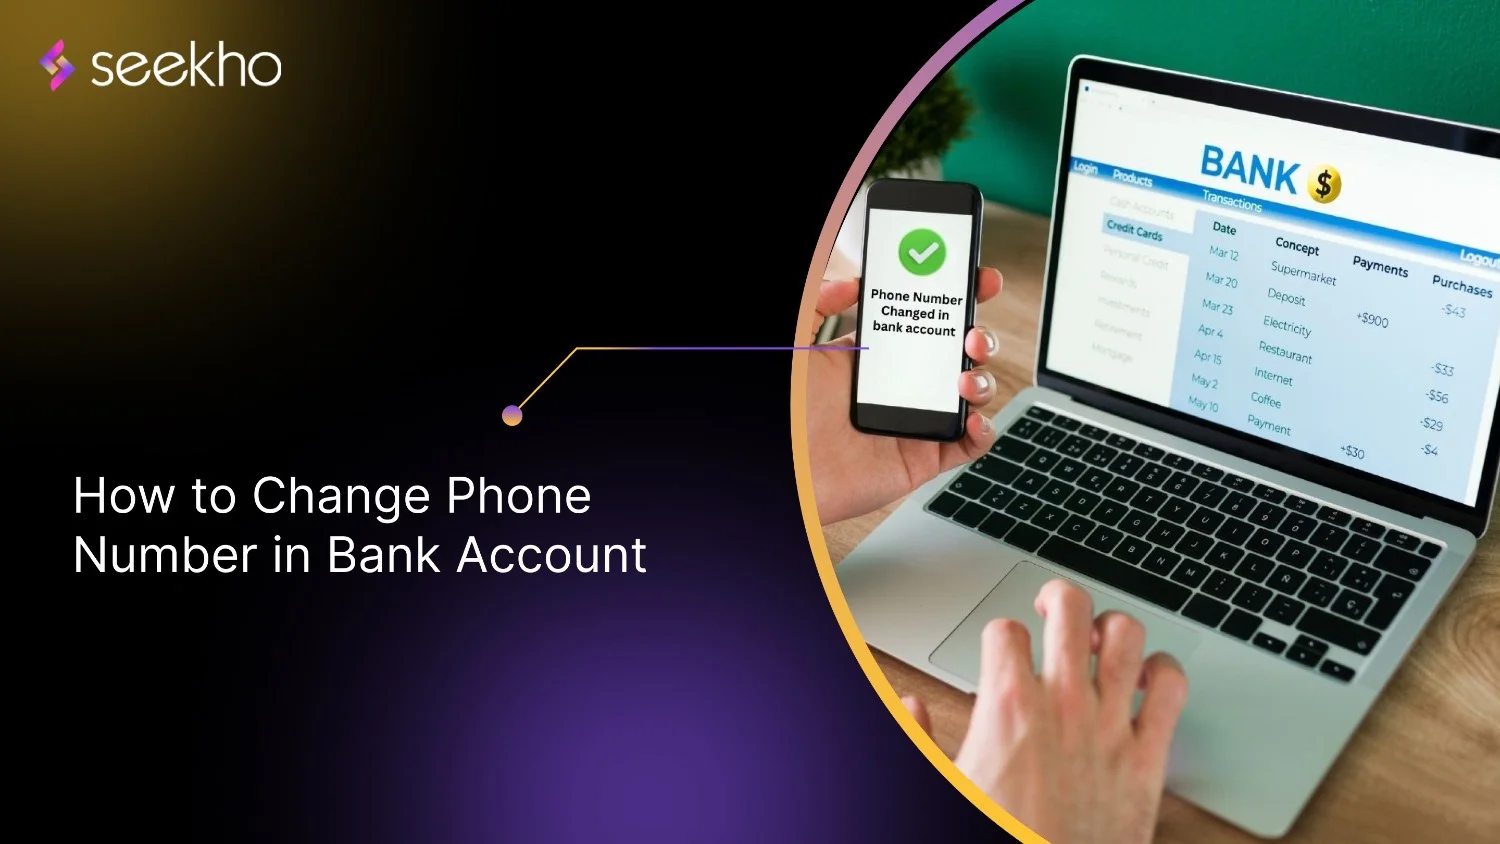
How to Change Phone Number in Bank Account
Learn how to change phone number in bank account via internet banking, mobile app, ATM, or branch visit. Also understand how to track status and cancel request.
Seekho Official
18 Dec 2025
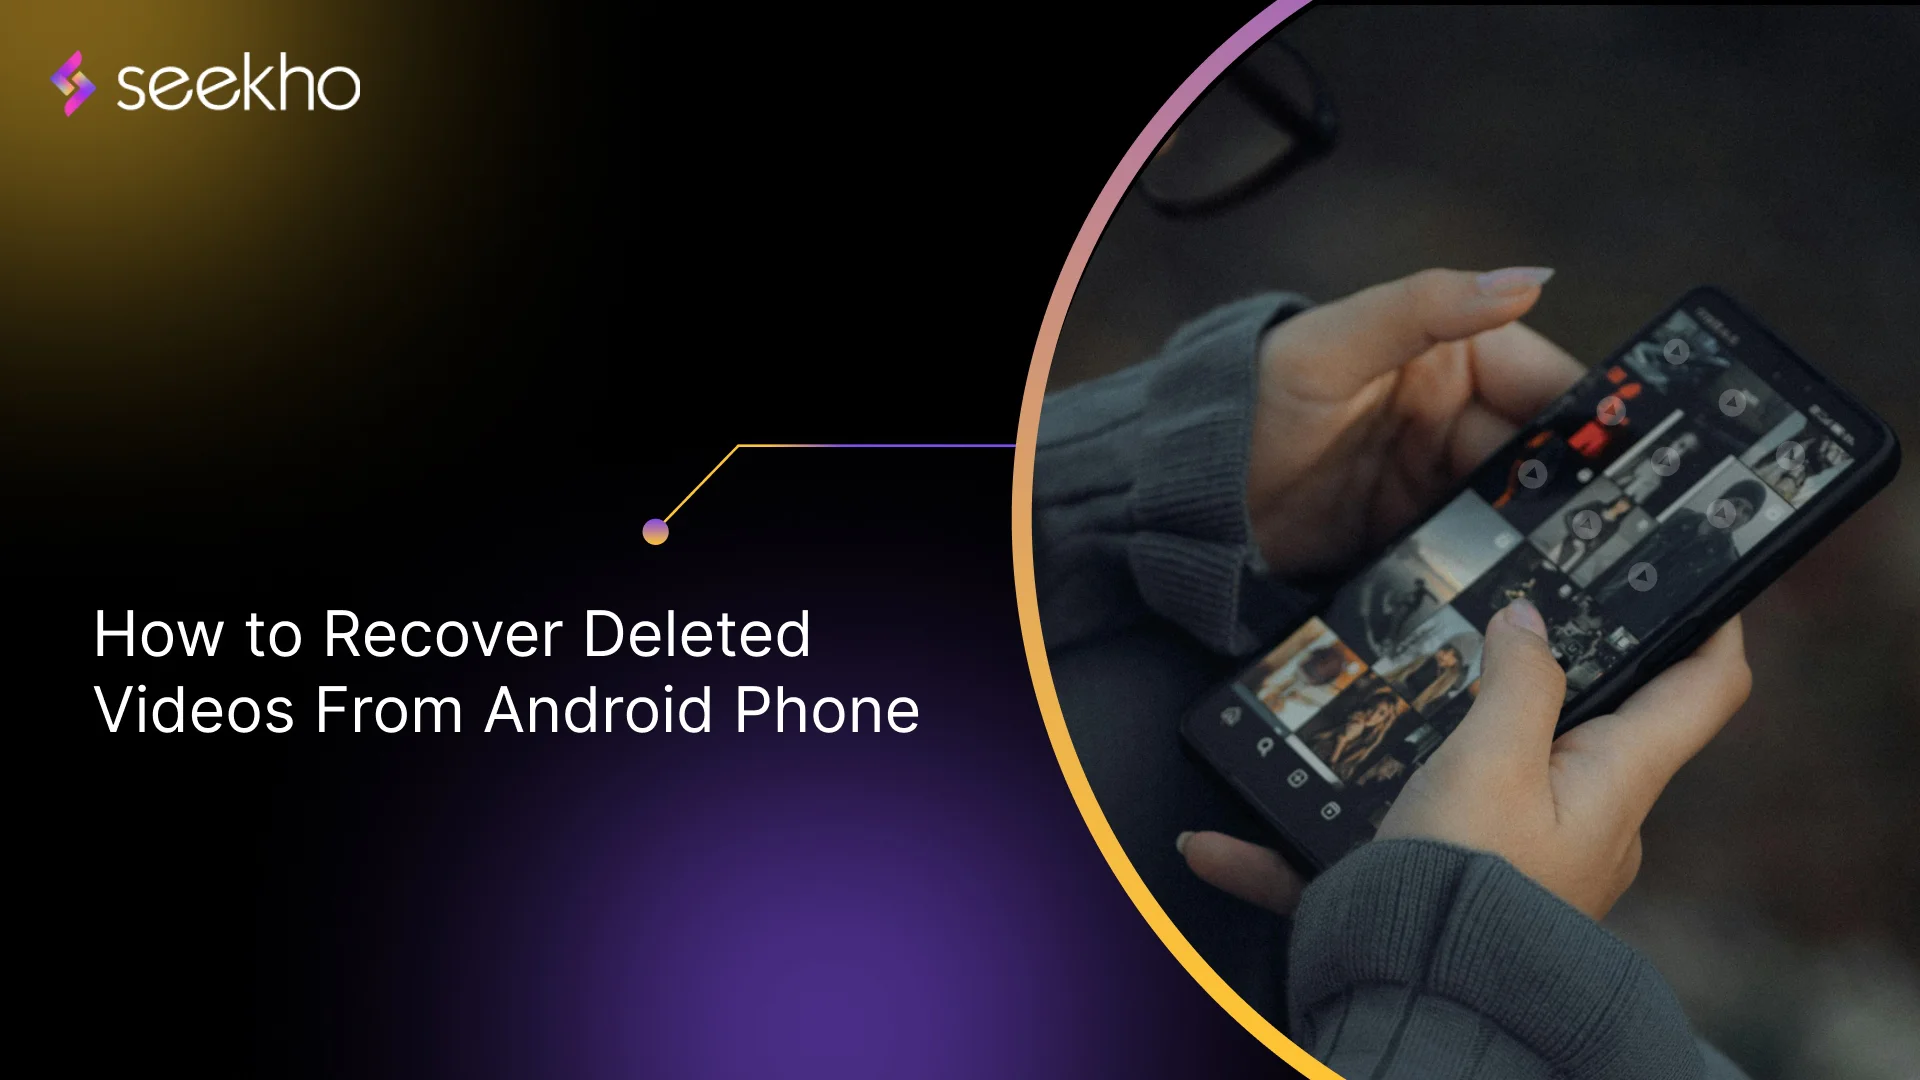
How to Recover Deleted Videos From an Android Phone
Learn how to recover deleted videos from Android phone? Know easy recovery methods, backup tips, and ways to avoid losing important videos again.
Seekho Official
18 Dec 2025
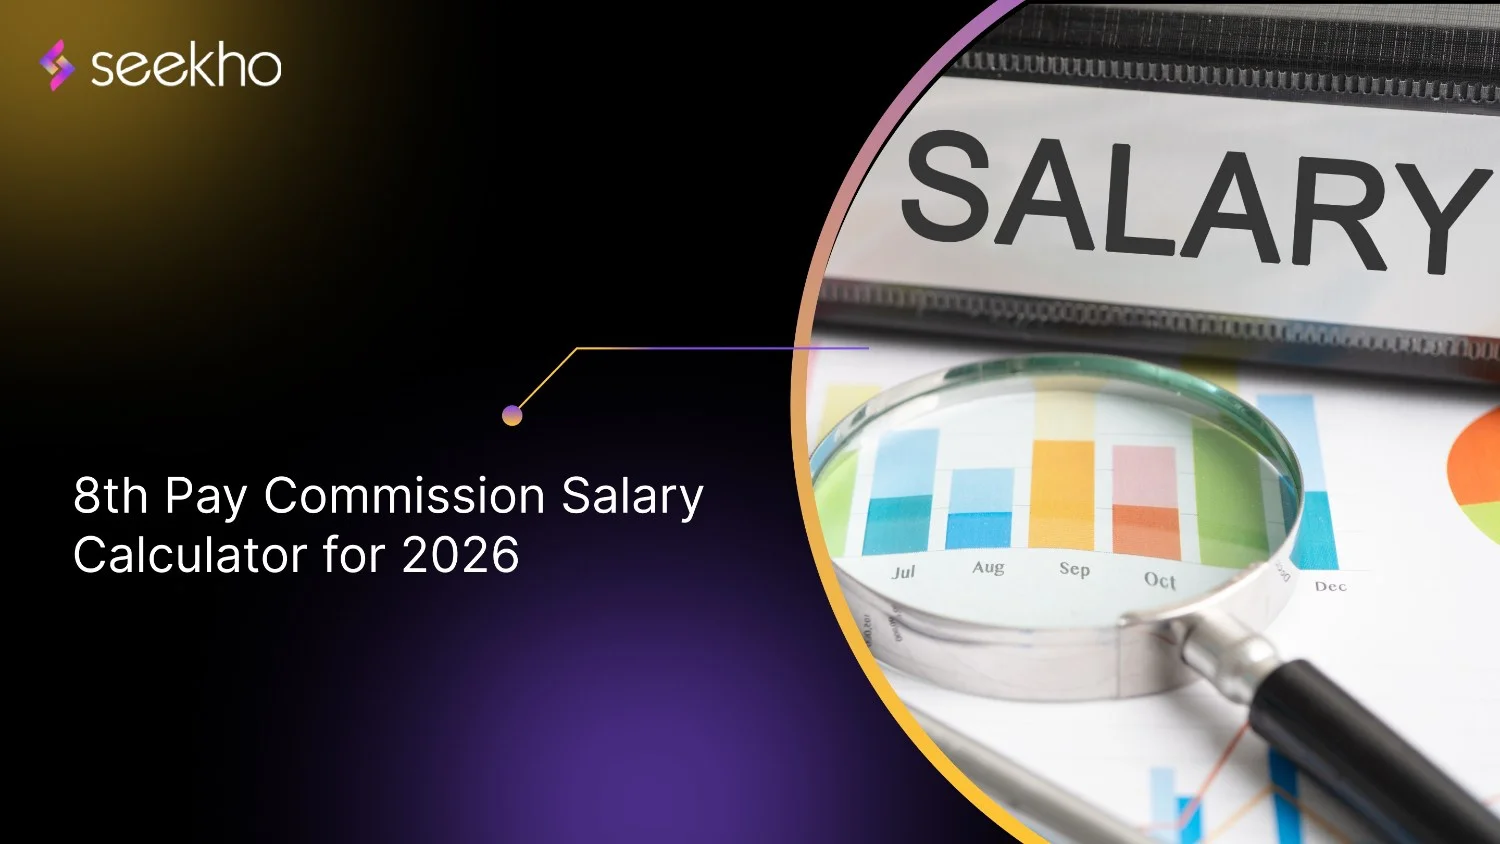
8th Pay Commission Salary Calculator for 2026
Use the 8th Pay Commission salary calculator to estimate revised pay, allowances, and pension with updated fitment factors, DA, HRA, and government benefits.
Seekho Official
18 Dec 2025
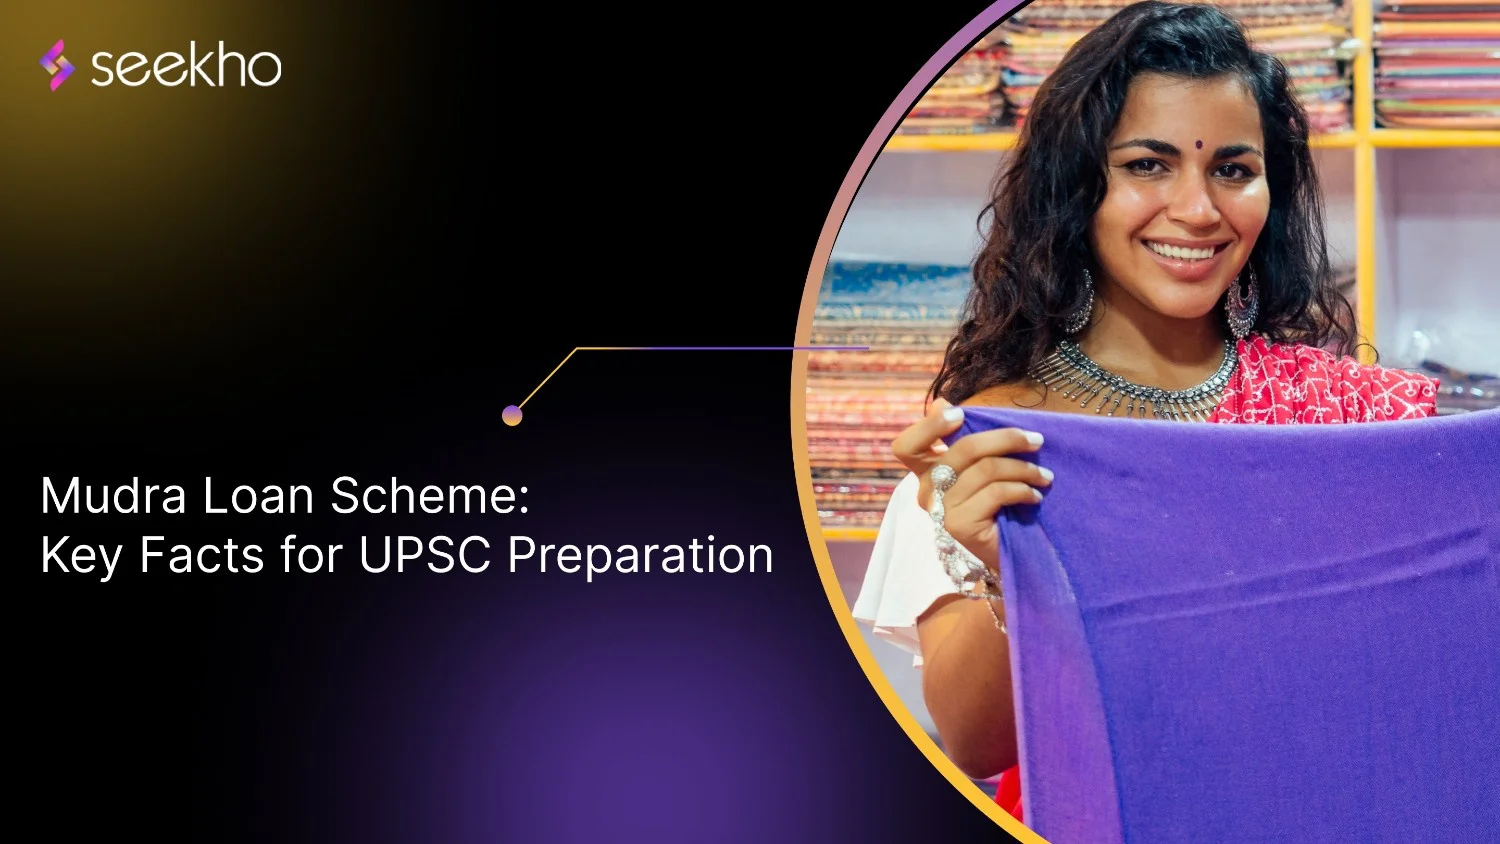
Mudra Loan Scheme: Key Facts for UPSC Preparation
A guide to the Mudra Loan scheme. Learn the objectives, classification, performance metrics, and key issues like Mudra Loan NPA for UPSC preparation.
Seekho Official
18 Dec 2025
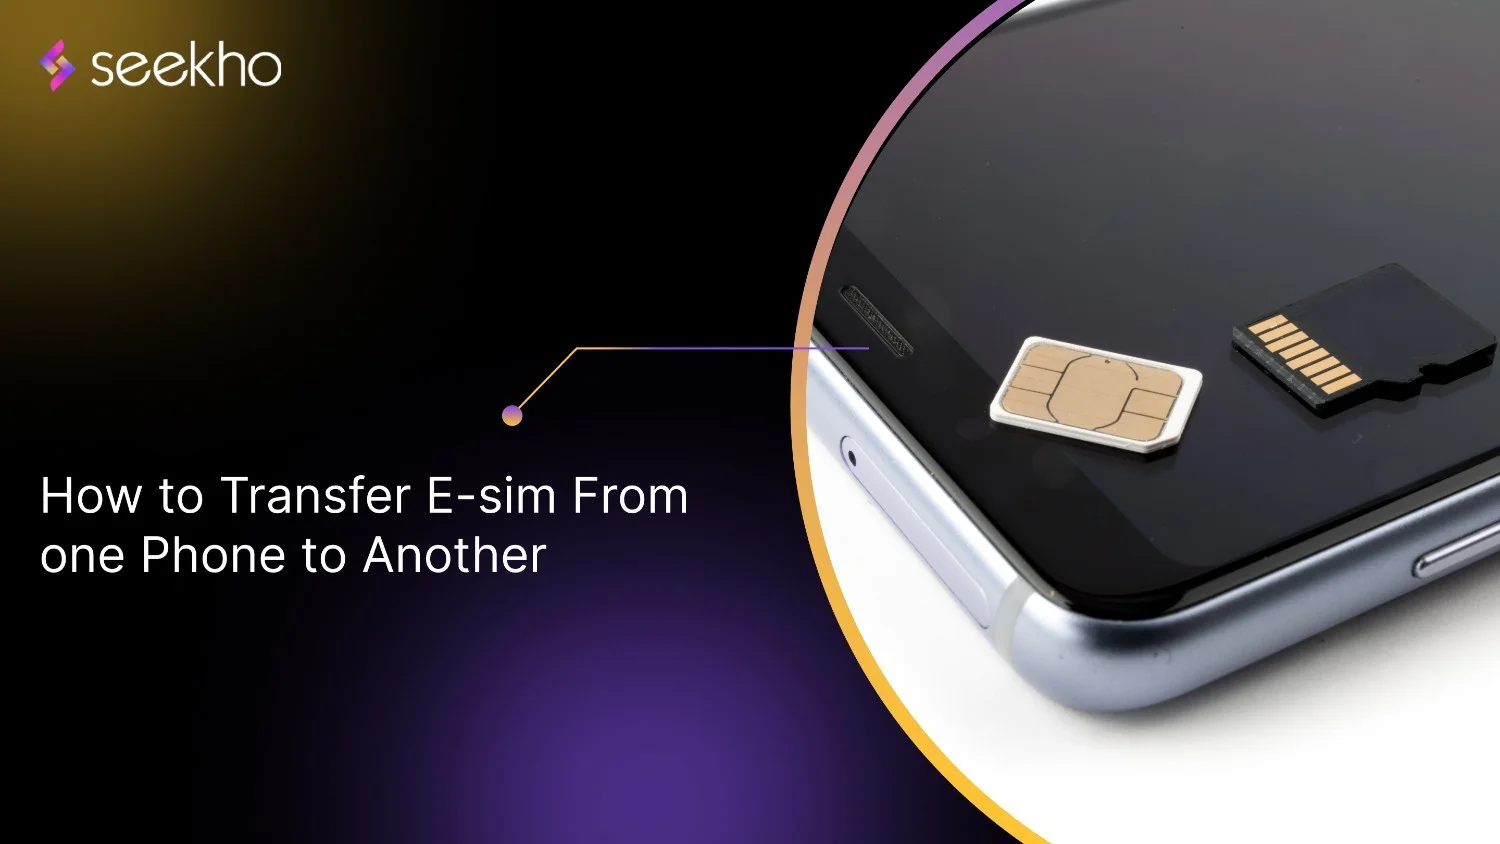
How to Transfer e-SIM From one Phone to Another
Learn how to transfer e-SIM from one phone to another. Understand the benefits of having an e-SIM, the 7-step transfer process, and common mistakes to avoid.
Seekho Official
8 Dec 2025
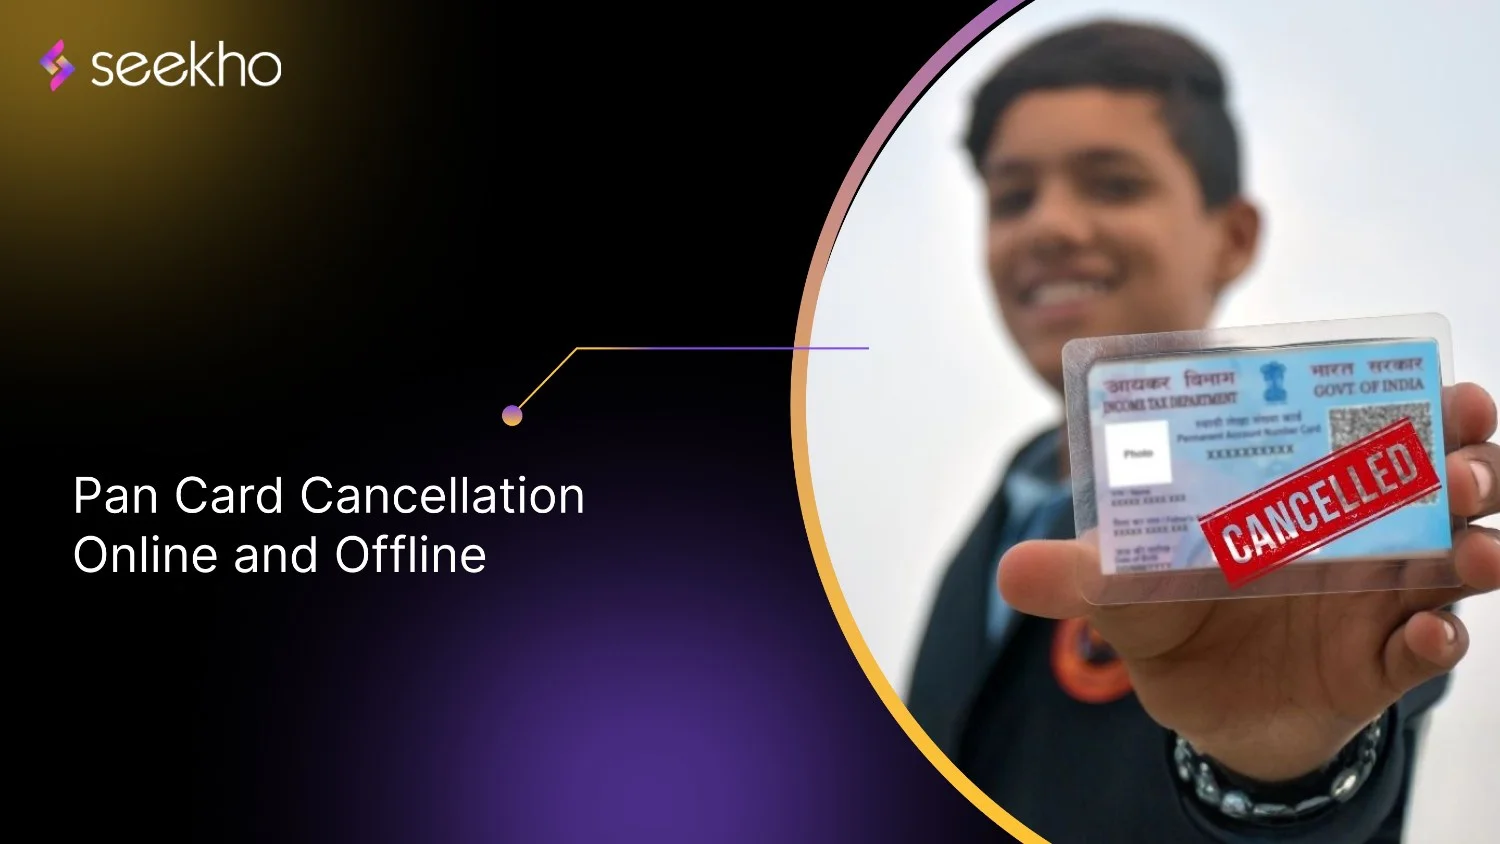
Pan Card Cancellation Online and Offline
Learn the PAN card cancellation online and offline process. A duplicate PAN Card can bring you a ₹10,000 penalty. A step-by-step guide to know how to surrender.
Seekho Official
8 Dec 2025


© 2025 Keyaro Edutech Pvt Ltd. All rights reserved.