
How to Edit Instagram Photos in Easy Steps: Pro Tips
Learn how to edit Instagram photos by starting with high-quality images, using effective apps, and maintaining a consistent editing style.

Seekho Official
15 Nov 2024

Seekho Se SeekhoDownload the app for better experience
More from Seekho Official
Phone Hacks in India: Common Mobile Scams and How to Stay Safe
Learn about everyday phone hacks in India, how mobile scams work, and simple steps to protect your phone, data, and money. Stay informed and safe.
Seekho Official
5 Jan 2026

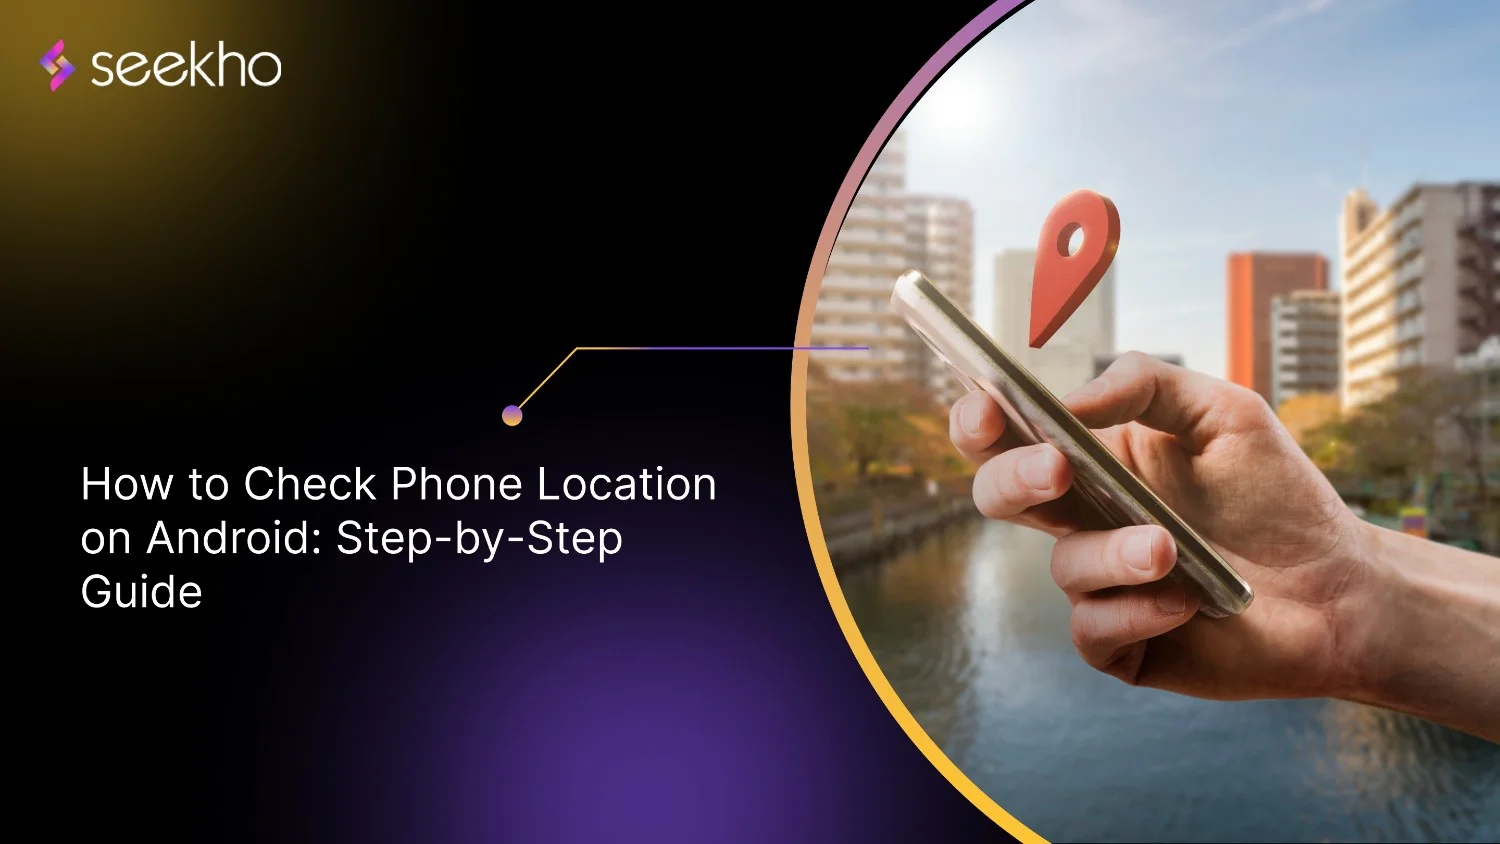
How to Check Phone Location on Android: Step-by-Step Guide
Learn how to check phone location on Android using simple, step-by-step methods. Find lost phones easily and use location features safely.
Seekho Official
5 Jan 2026
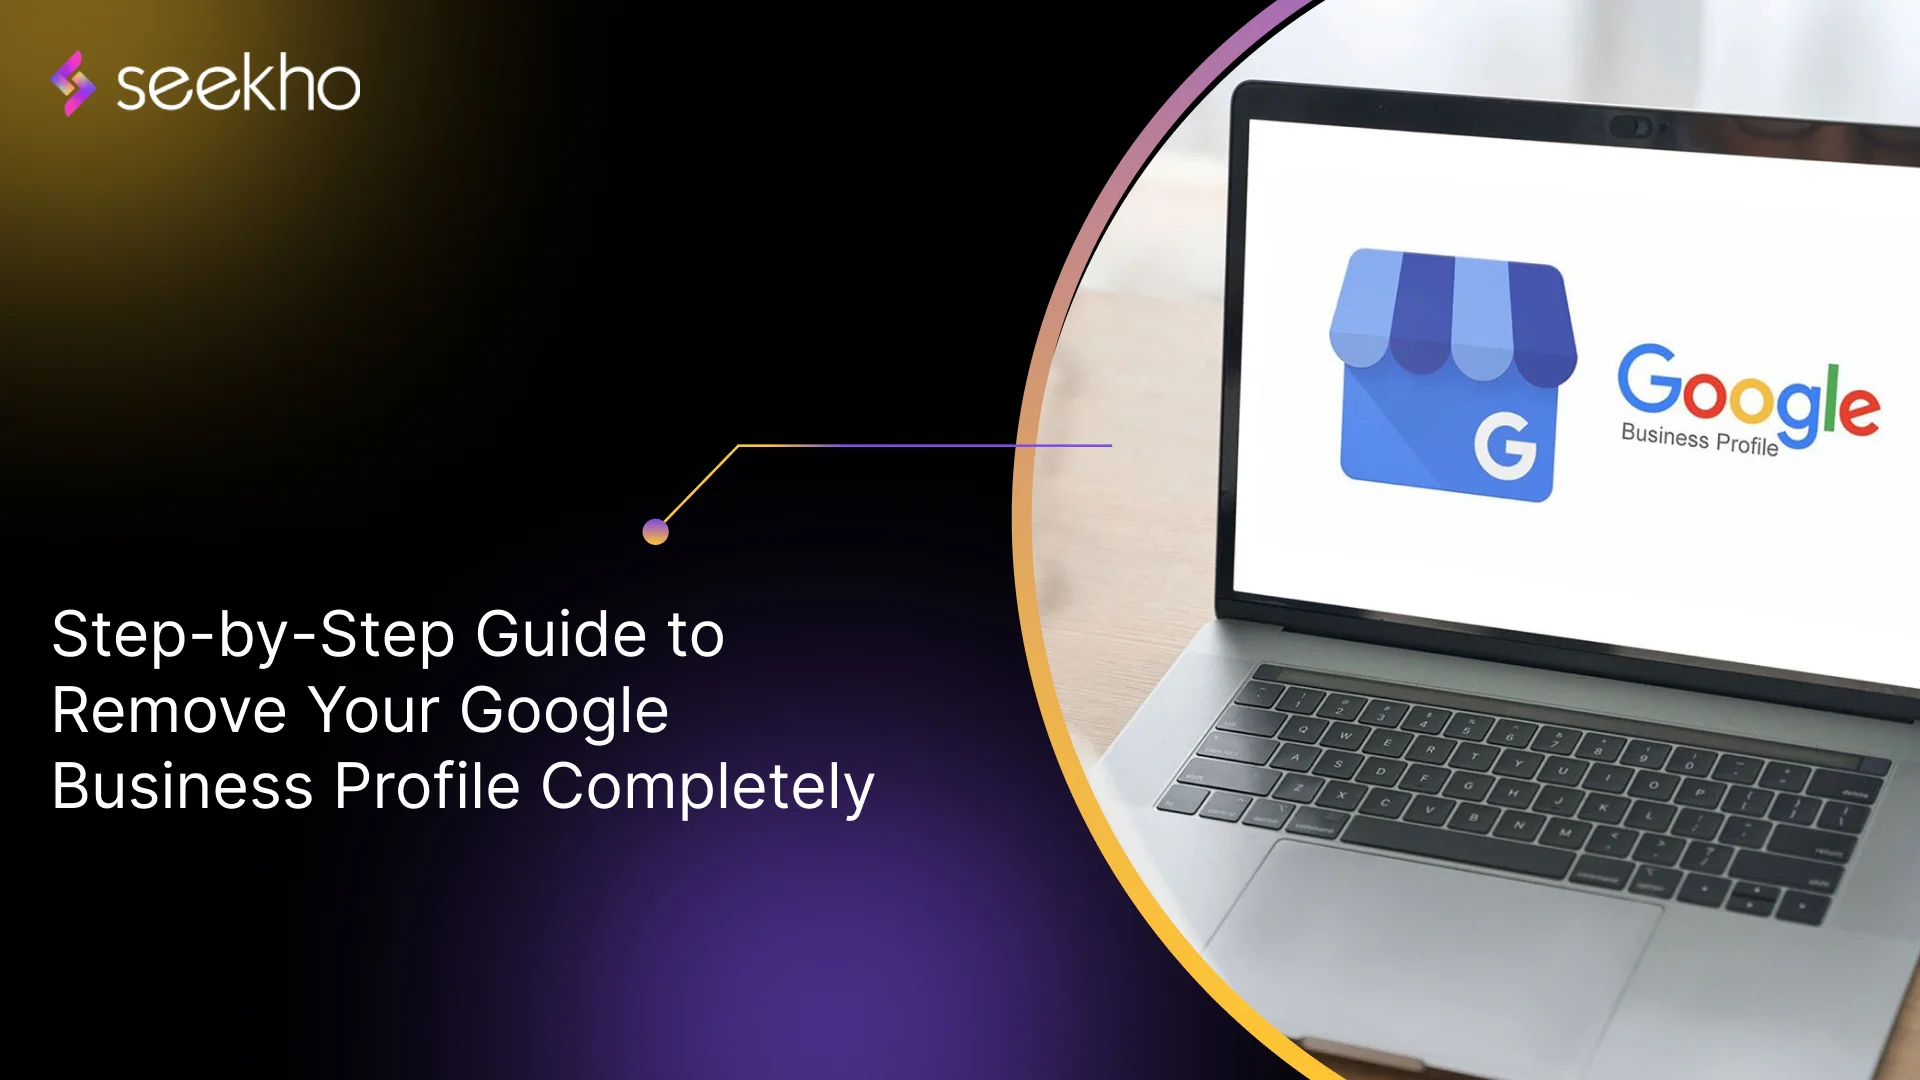
Step-by-Step Guide to Remove Your Google Business Profile Completely
Find out how to remove business from Google in simple steps and delete your Google Business Profile completely while keeping your reviews and data secure.
Seekho Official
5 Jan 2026
How to Start a Tour and Travel Business from Scratch in Simple Steps
Learn how to start tour and travel business from scratch with simple steps, legal tips, branding, marketing, and growth strategies for your travel agency.
Seekho Official
5 Jan 2026

Top 5 Free YouTube to MP4 Converters in 2026
Learn how to use a Youtube to mp4 converter safely, compare free tools, avoid common mistakes, and download videos offline without losing quality or security.
Seekho Official
5 Jan 2026

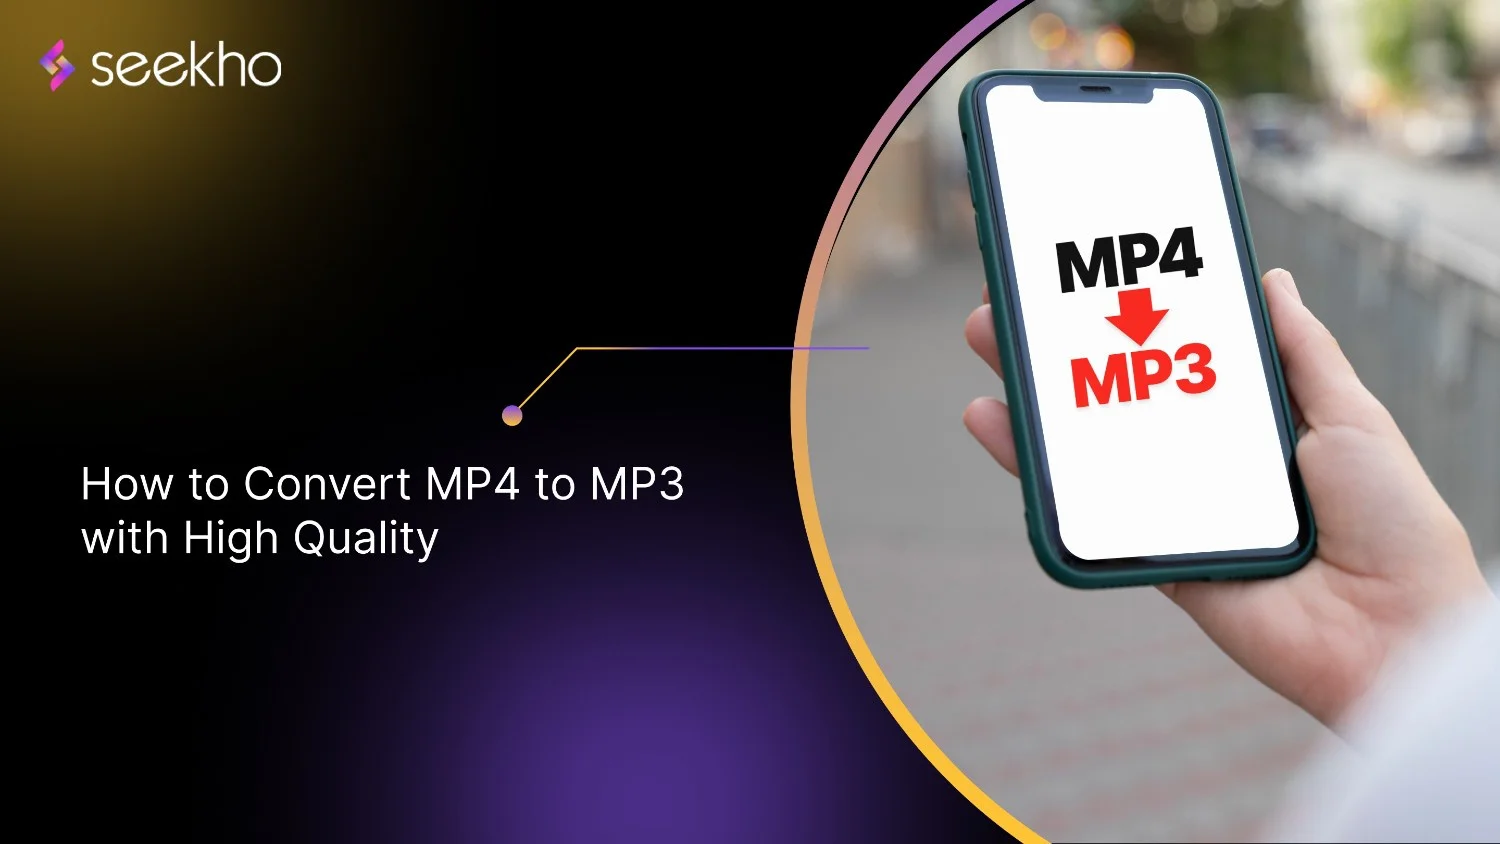
How to Convert MP4 to MP3 with High Quality
Learn how to convert MP4 to MP3 with the right tools and settings to get clear audio, smaller file sizes, and high-quality sound without losing clarity.
Seekho Official
5 Jan 2026
How to Get into the Real Estate Business: A Simple Guide
Learn how to get into the real estate business with easy, actionable steps on choosing a niche, building skills, marketing, and growing your property venture.
Seekho Official
27 Dec 2025

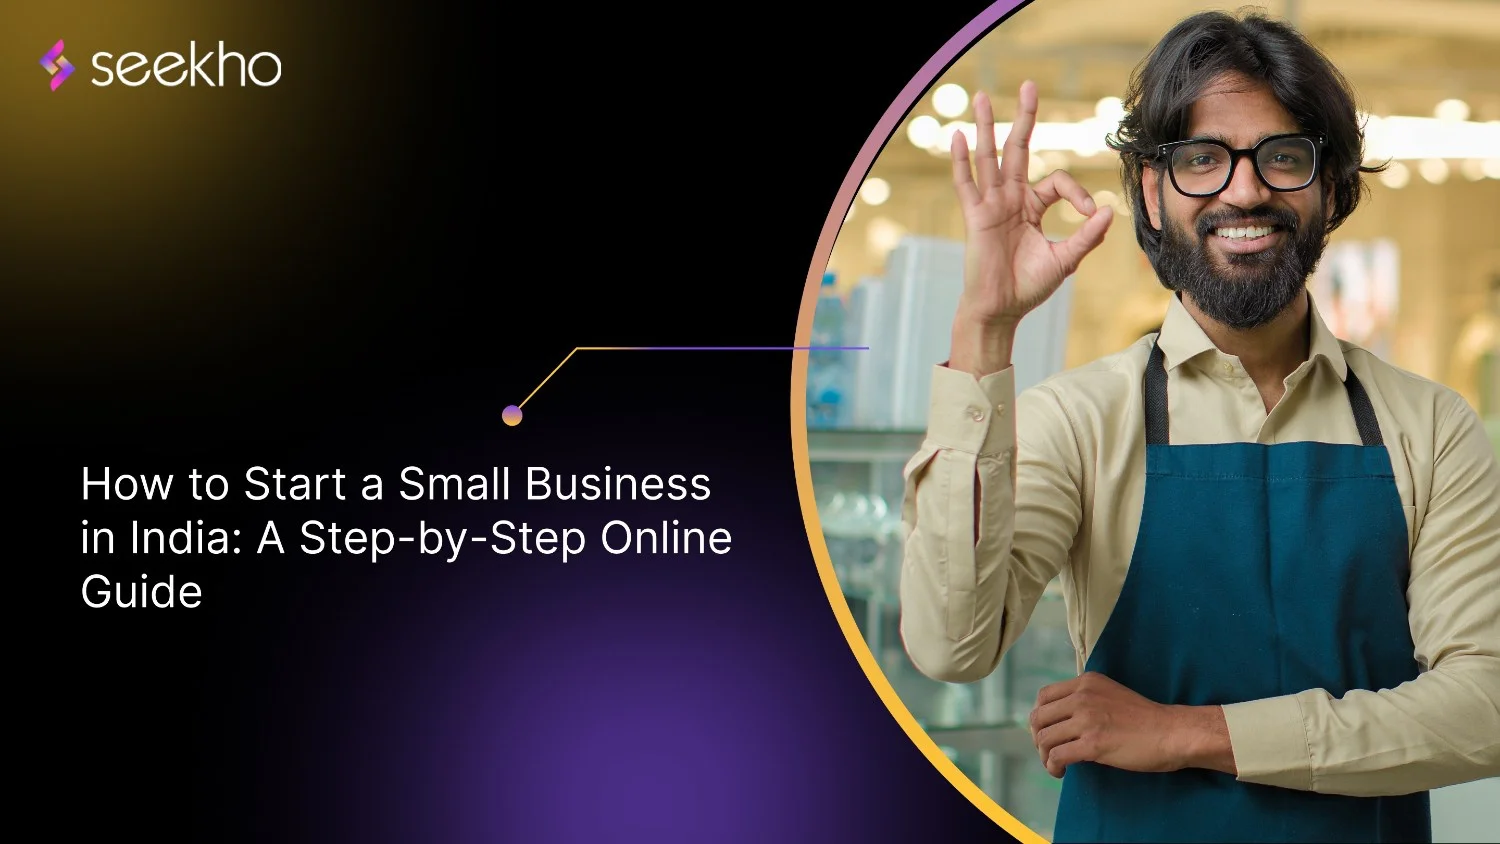
Starting a Small Business in India: A Step by Step Online Guide
Learn how to start a business in India with a clear, step-by-step online guide covering planning, registration, finance, digital presence & launch tips.
Seekho Official
27 Dec 2025
How to Start Trading Business in India: Legal Steps, Capital, and Common Mistakes
Learn how to start a trading business in India by choosing your niche, setting legal structures, and ensuring compliance. Start trading effectively!
Seekho Official
27 Dec 2025
7 Common Mistakes to Avoid During F&O Tax Calculation
Learn F&O tax calculation covering business income rules, ITR forms, audit limits, expense deductions, and loss carry-forward for accurate reporting.
Seekho Official
27 Dec 2025


© 2026 Keyaro Edutech Pvt Ltd. All rights reserved.